Restoring Telegraph Instruments
Half the fun of key collecting is restoring the instruments you find. However, it is important that you do it correctly. Be patient and take your time, and avoid cutting corners that could damage the finish on the antique instrument. Resist the urge to over polish metal and/or use abrasives. On this page I have presented a variety of restoration techniques I have learned over 30 years of collecting. Below are several examples of before-and-after pictures of instruments I have restored:
 |
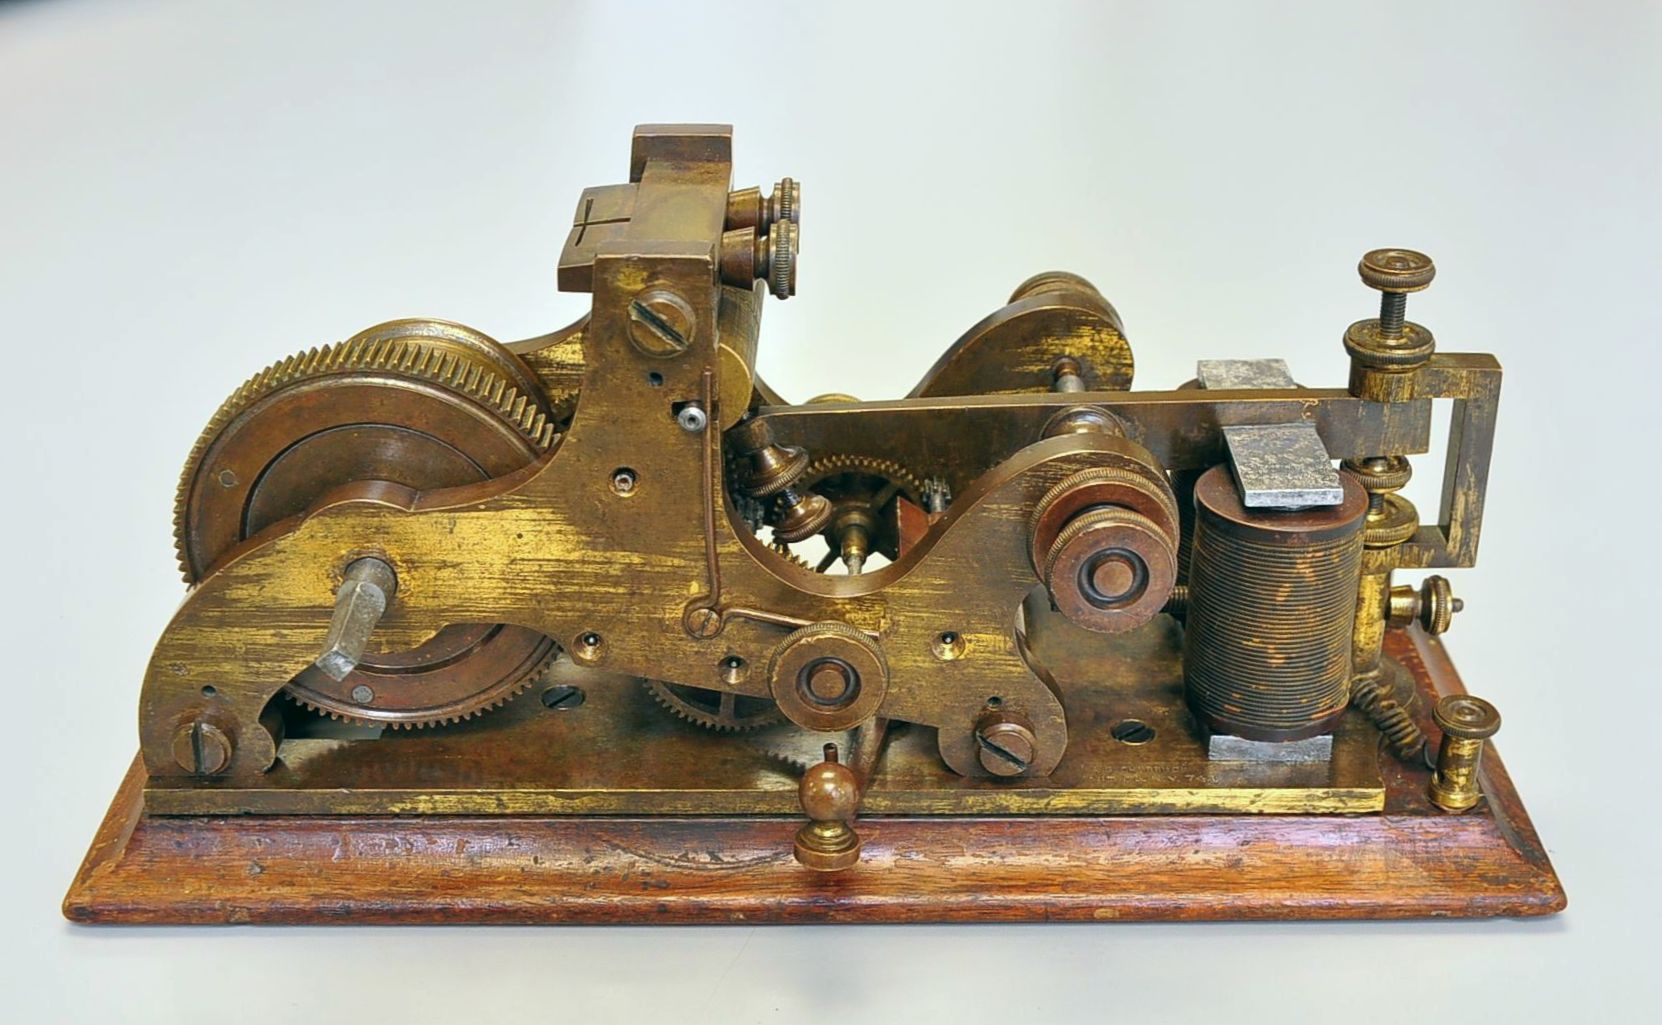 |
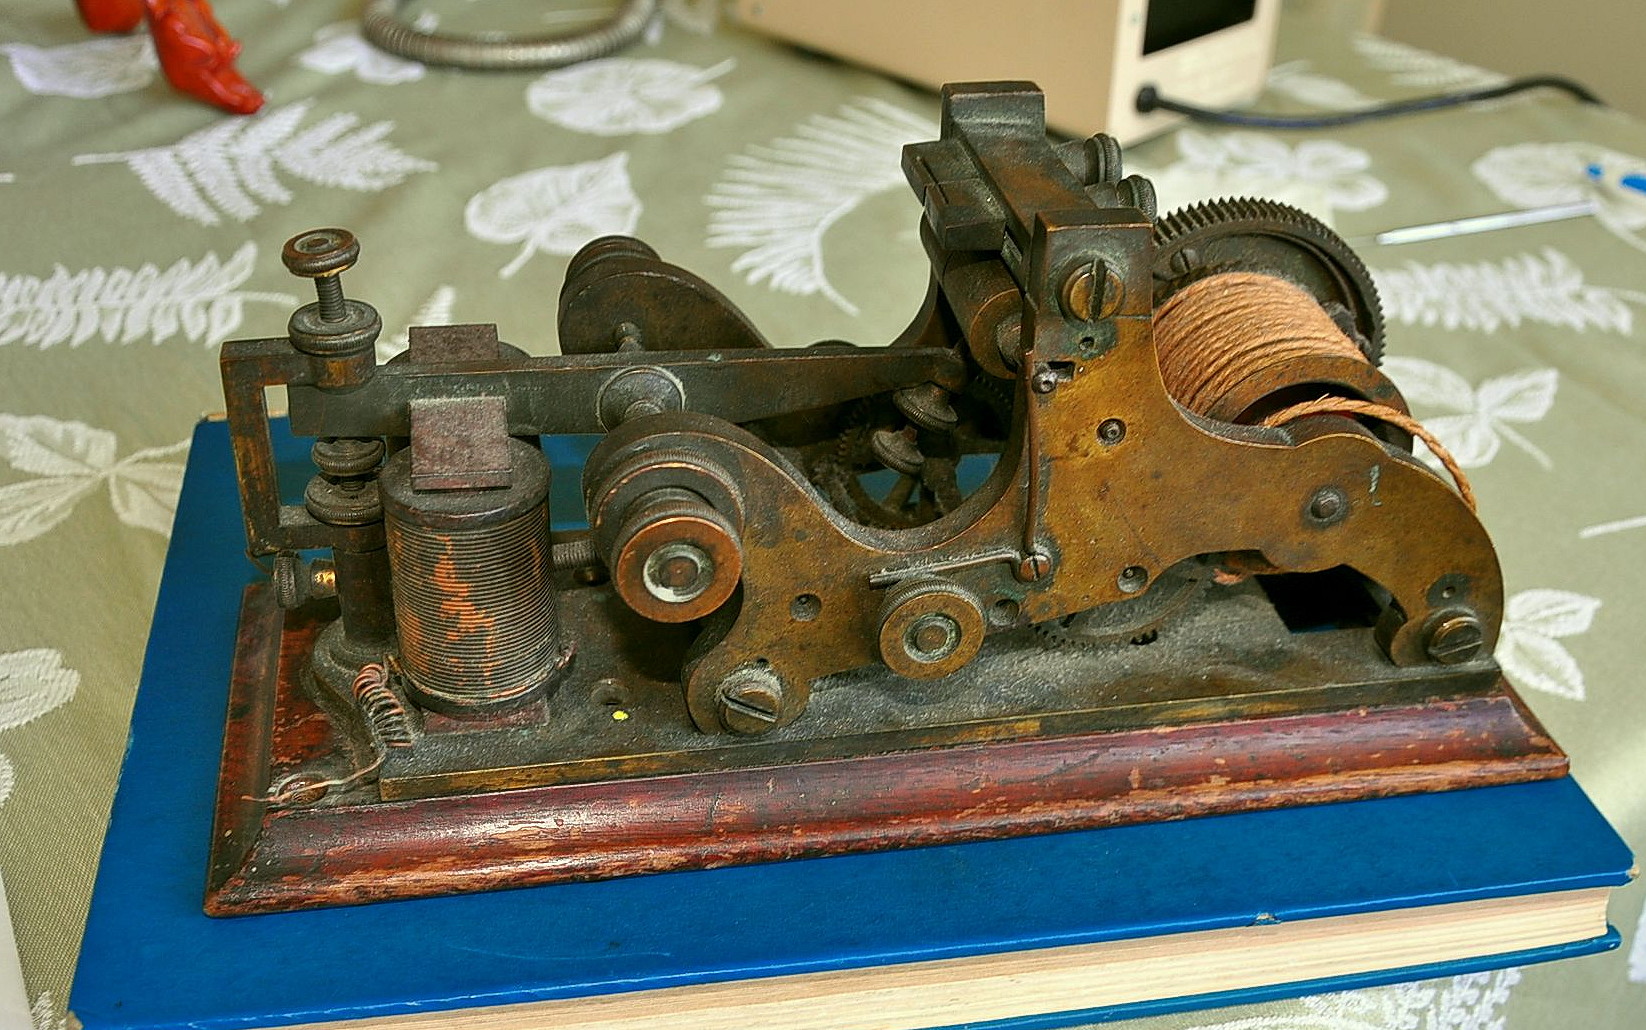
Chubbuck Register with extensive rust on steel parts, brown and green oxides on brass, bent screw heads. On right is the same register after a 6 month restoration effort. Brass was cleaned using a dull X-Acto knife to carefully scrape away contaminants, leaving original lacquered areas intact. Rusted steel parts cleaned using Naval Jelly rust dissolver. |
|---|---|---|
| Before | After | |
 |
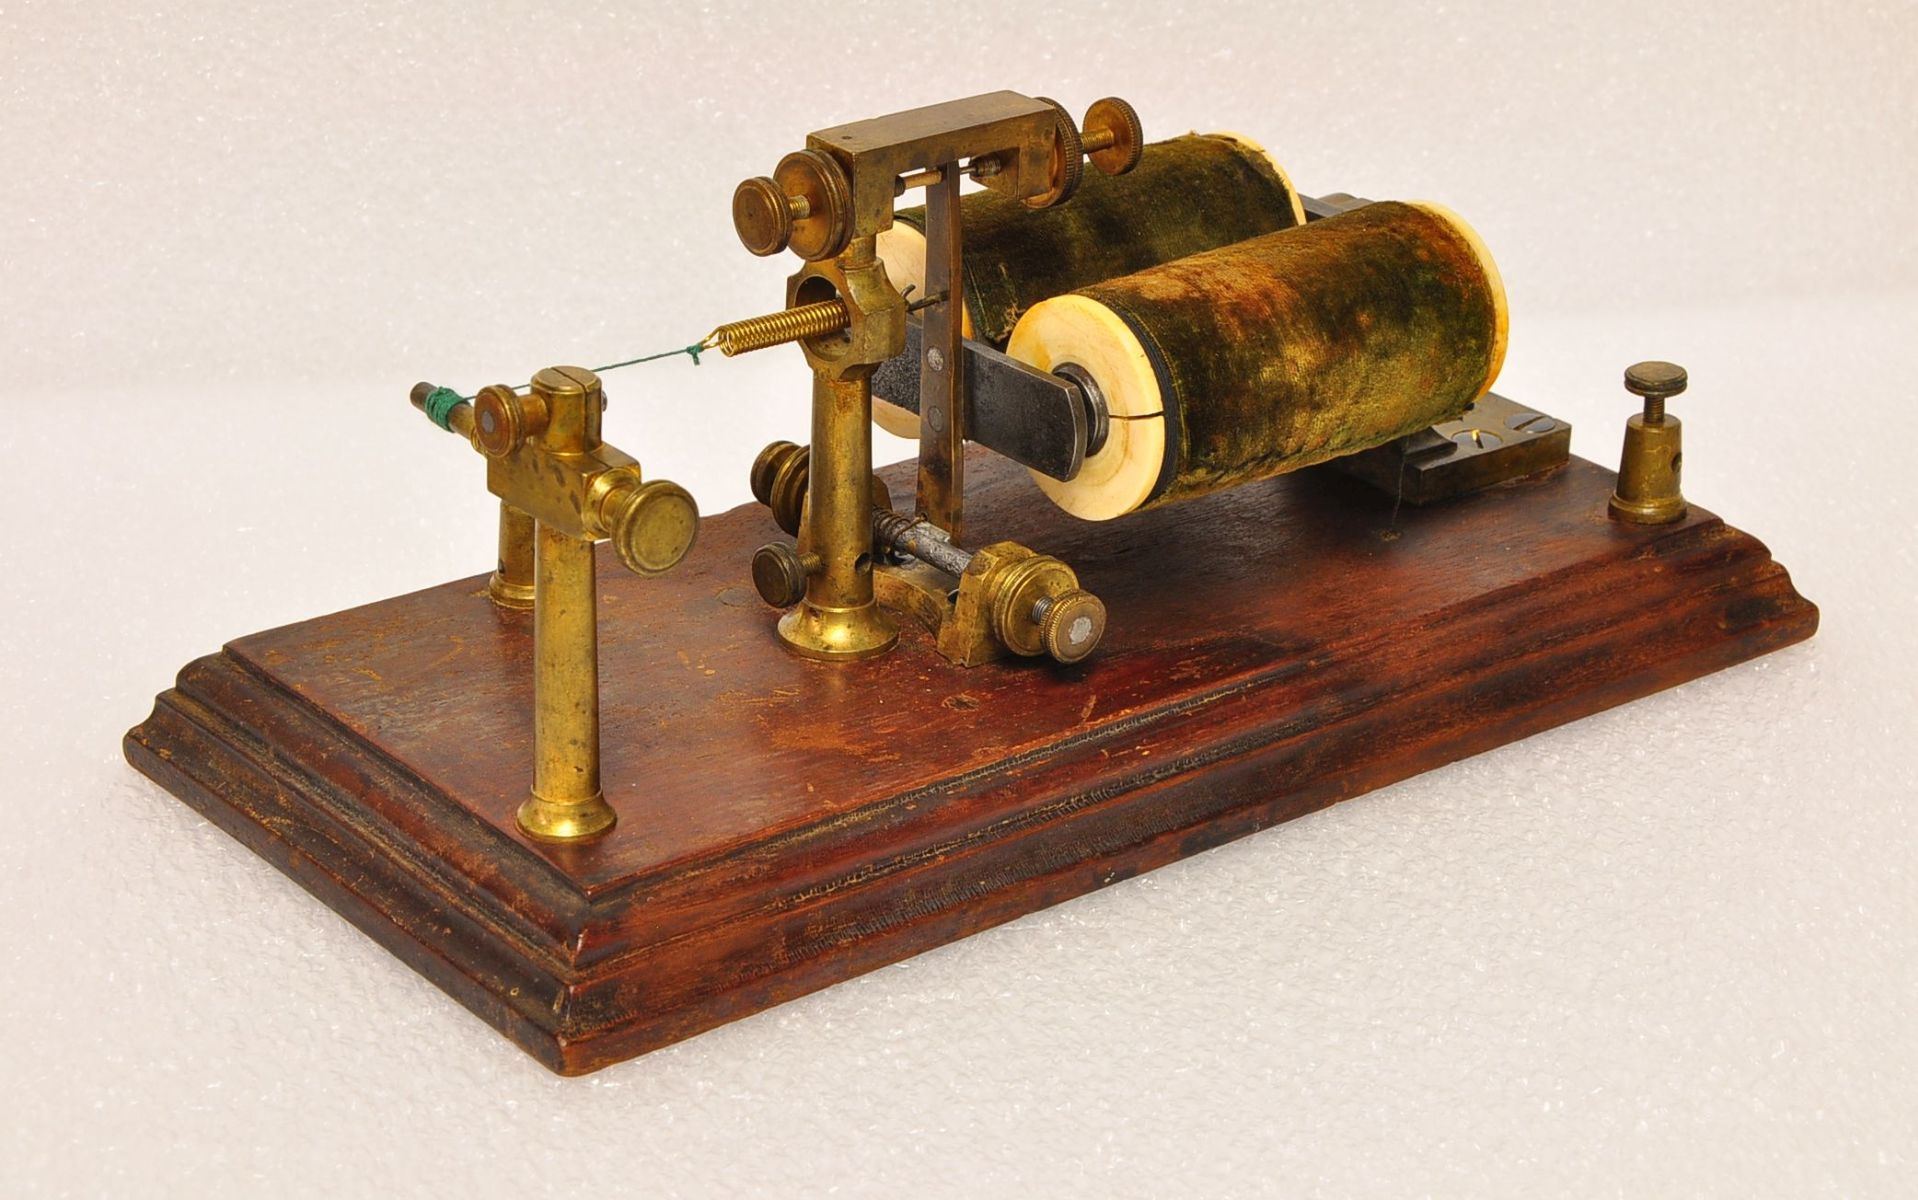 |
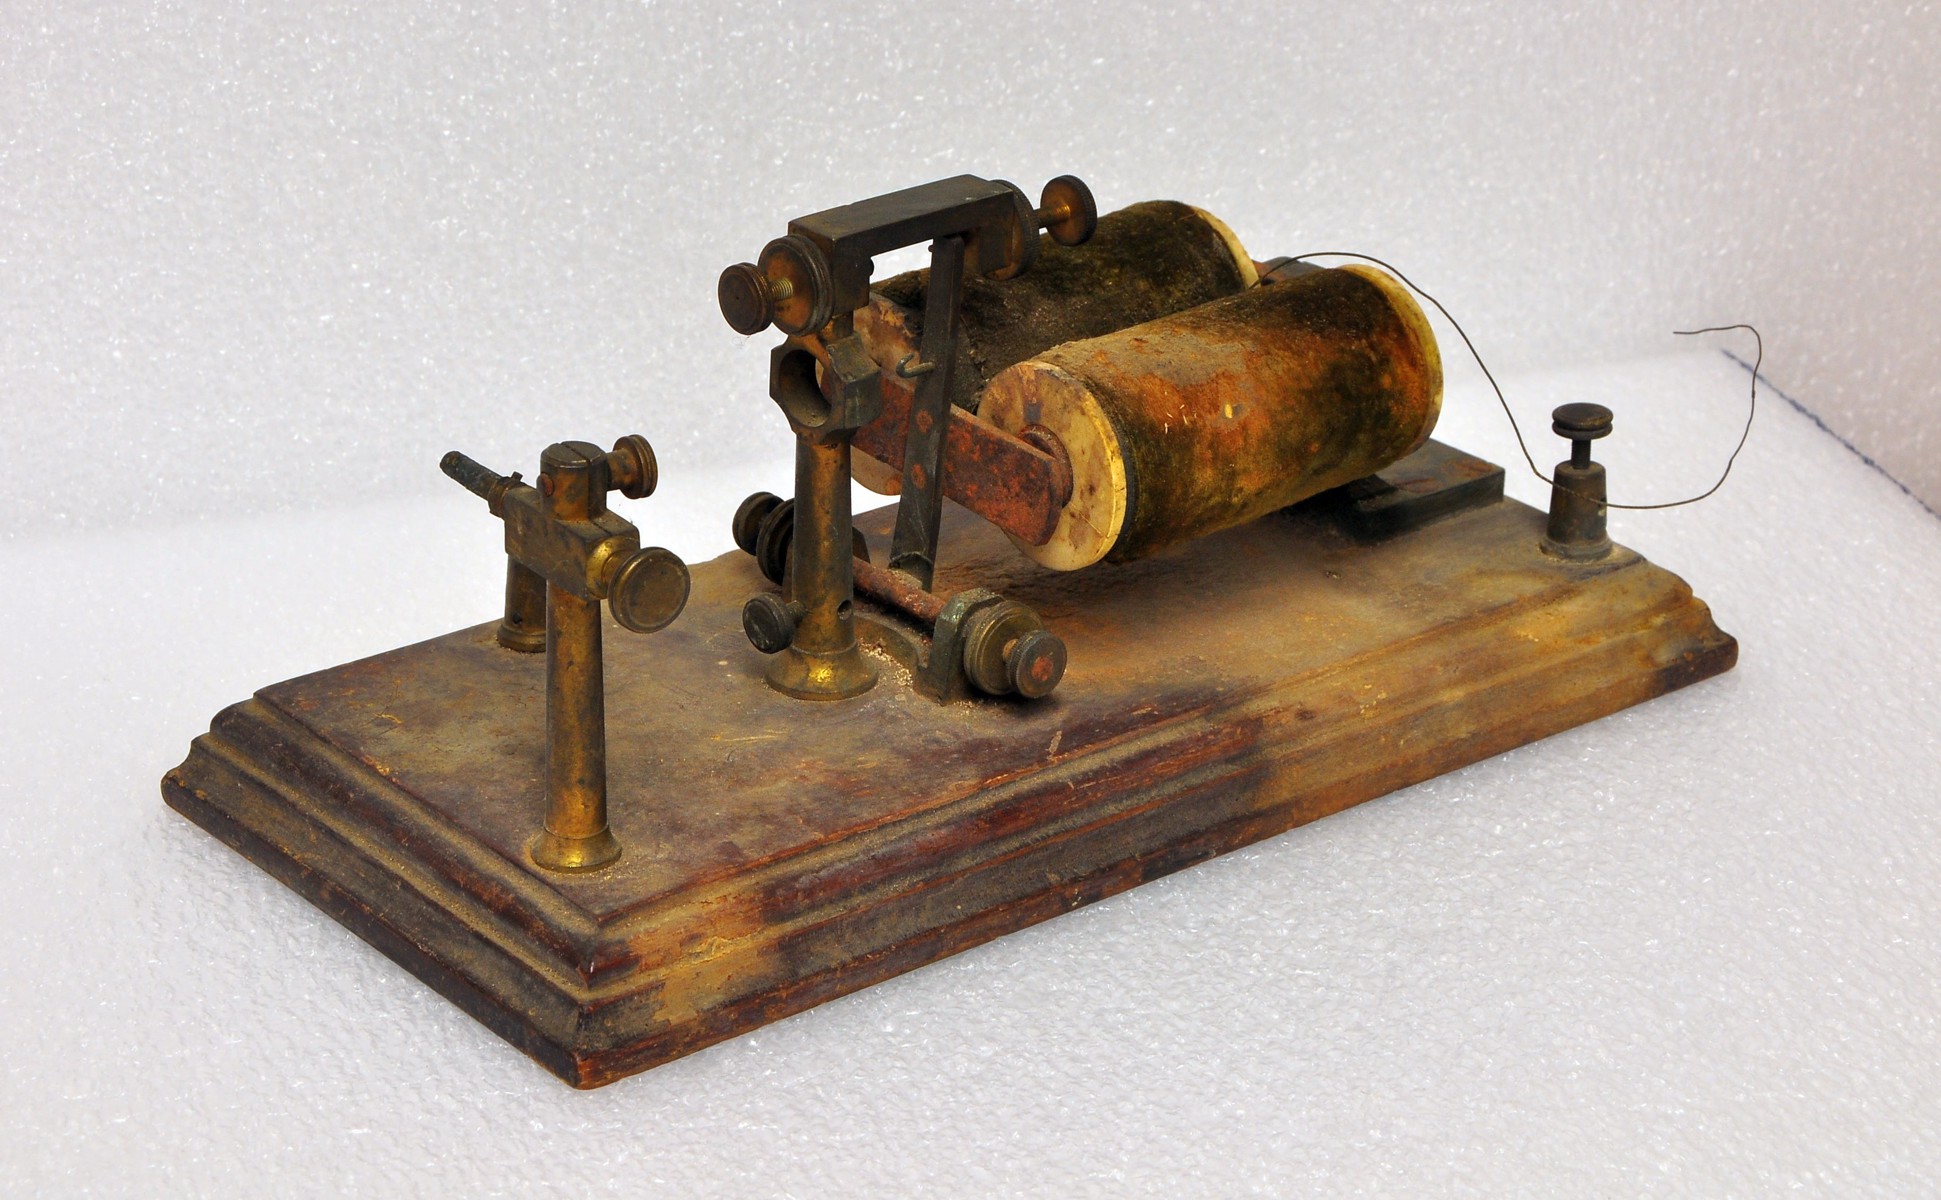
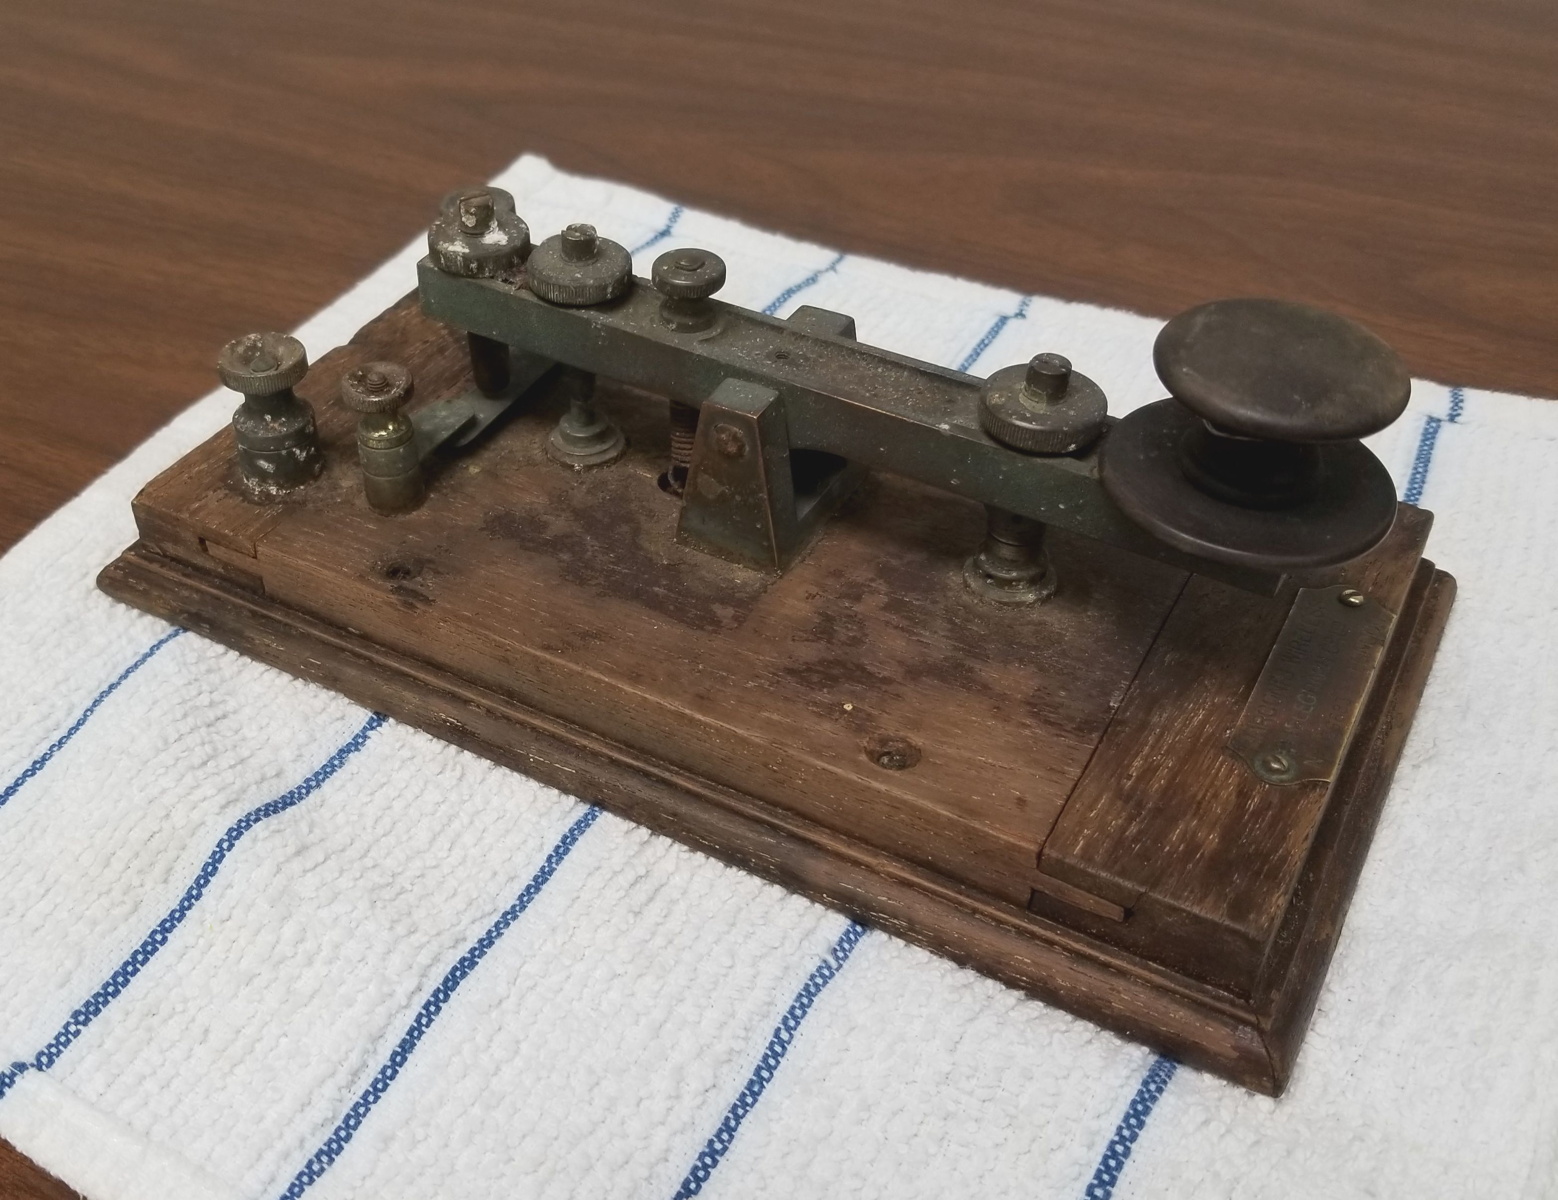
1848 William Clark Relay that had been stored in a barn. All steel parts heavily rusted. Wood base finish damaged by rodent urine, which also caused green oxide corrosion to adjacent brass parts. Base restored by a simple application of furniture polish and localized application of Howard Restor-A-Finish Cherry color refinisher. Rusted steel parts cleaned with Naval Jelly and brass parts carefully cleaned with a dull X-Acto knife. No brass polish was used in this restoration. |
| Before | After | |
 |
 |
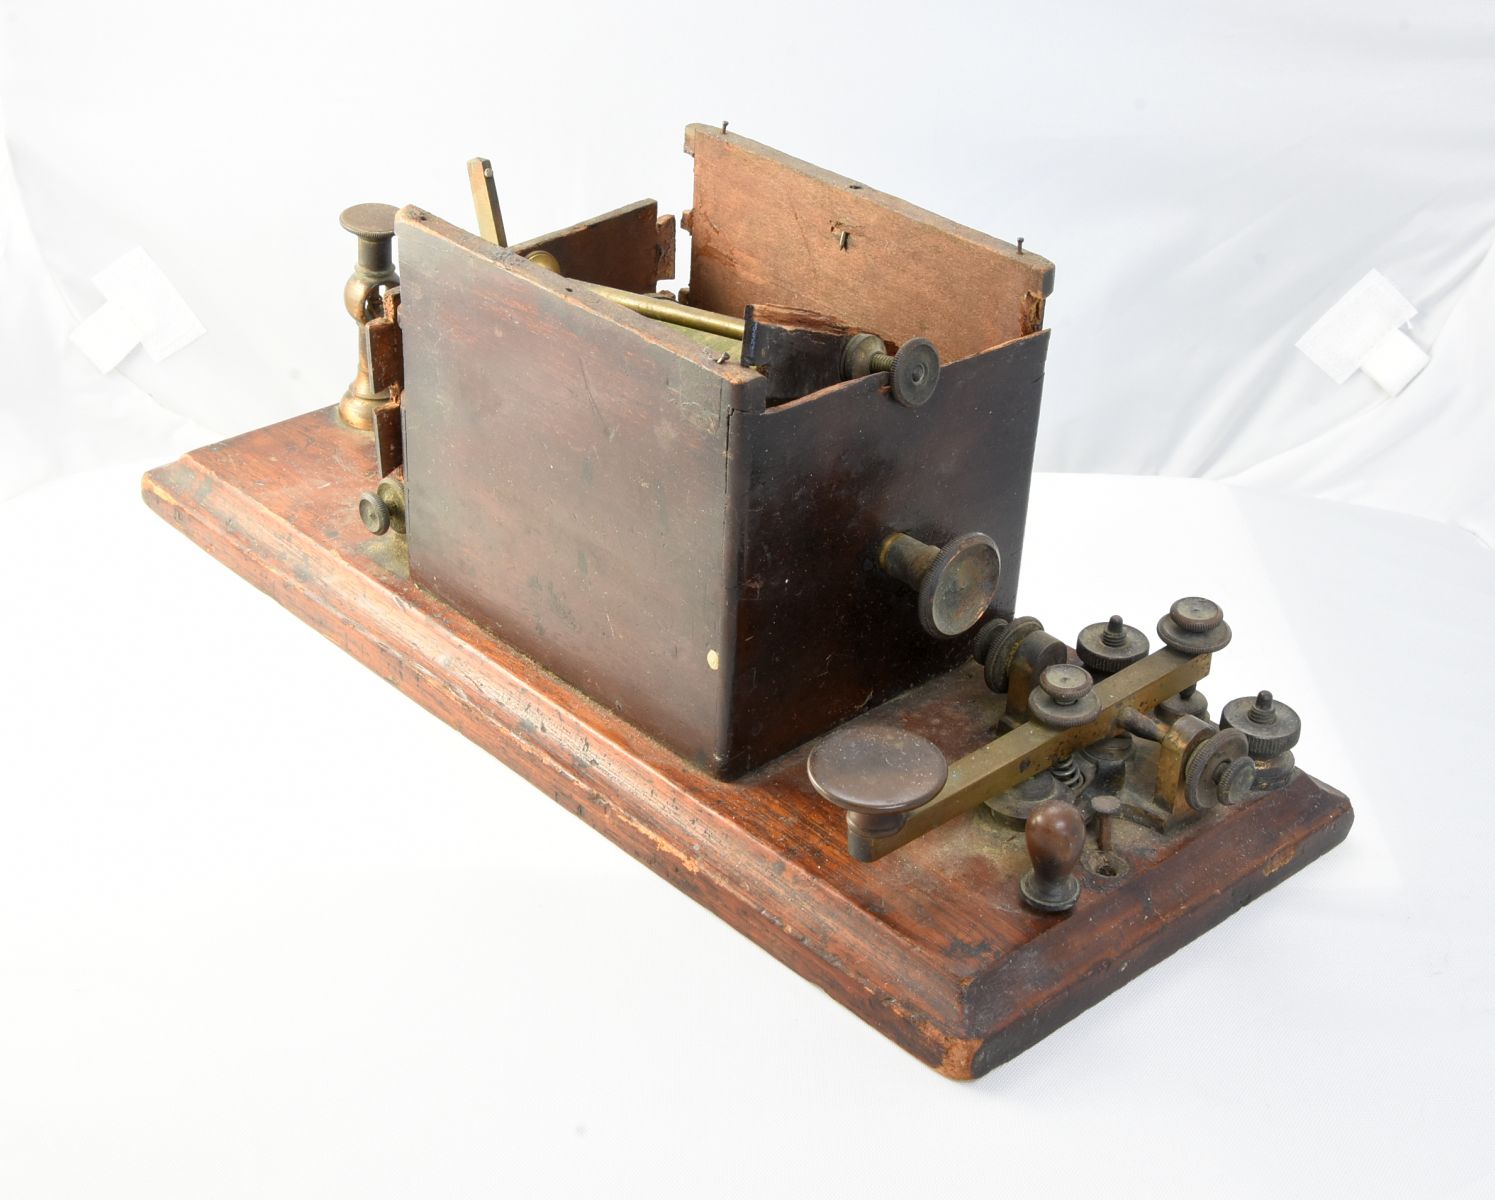
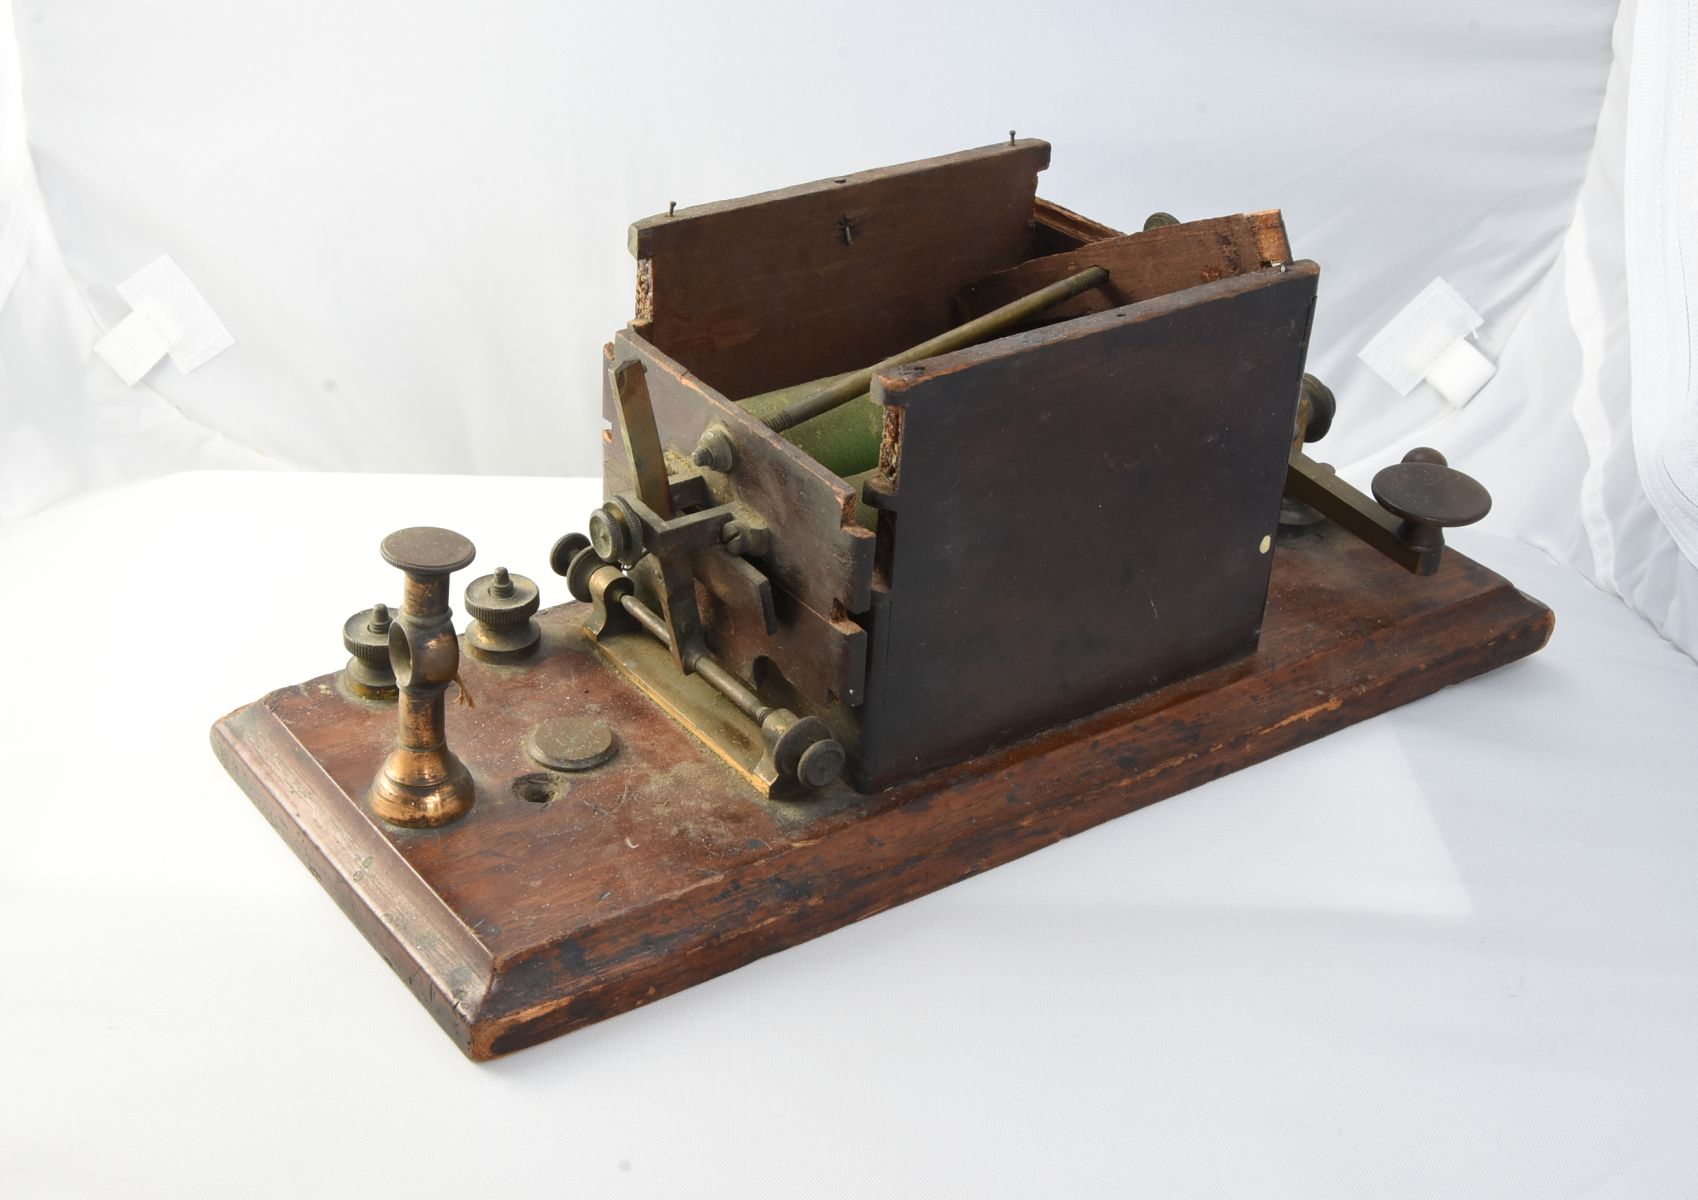
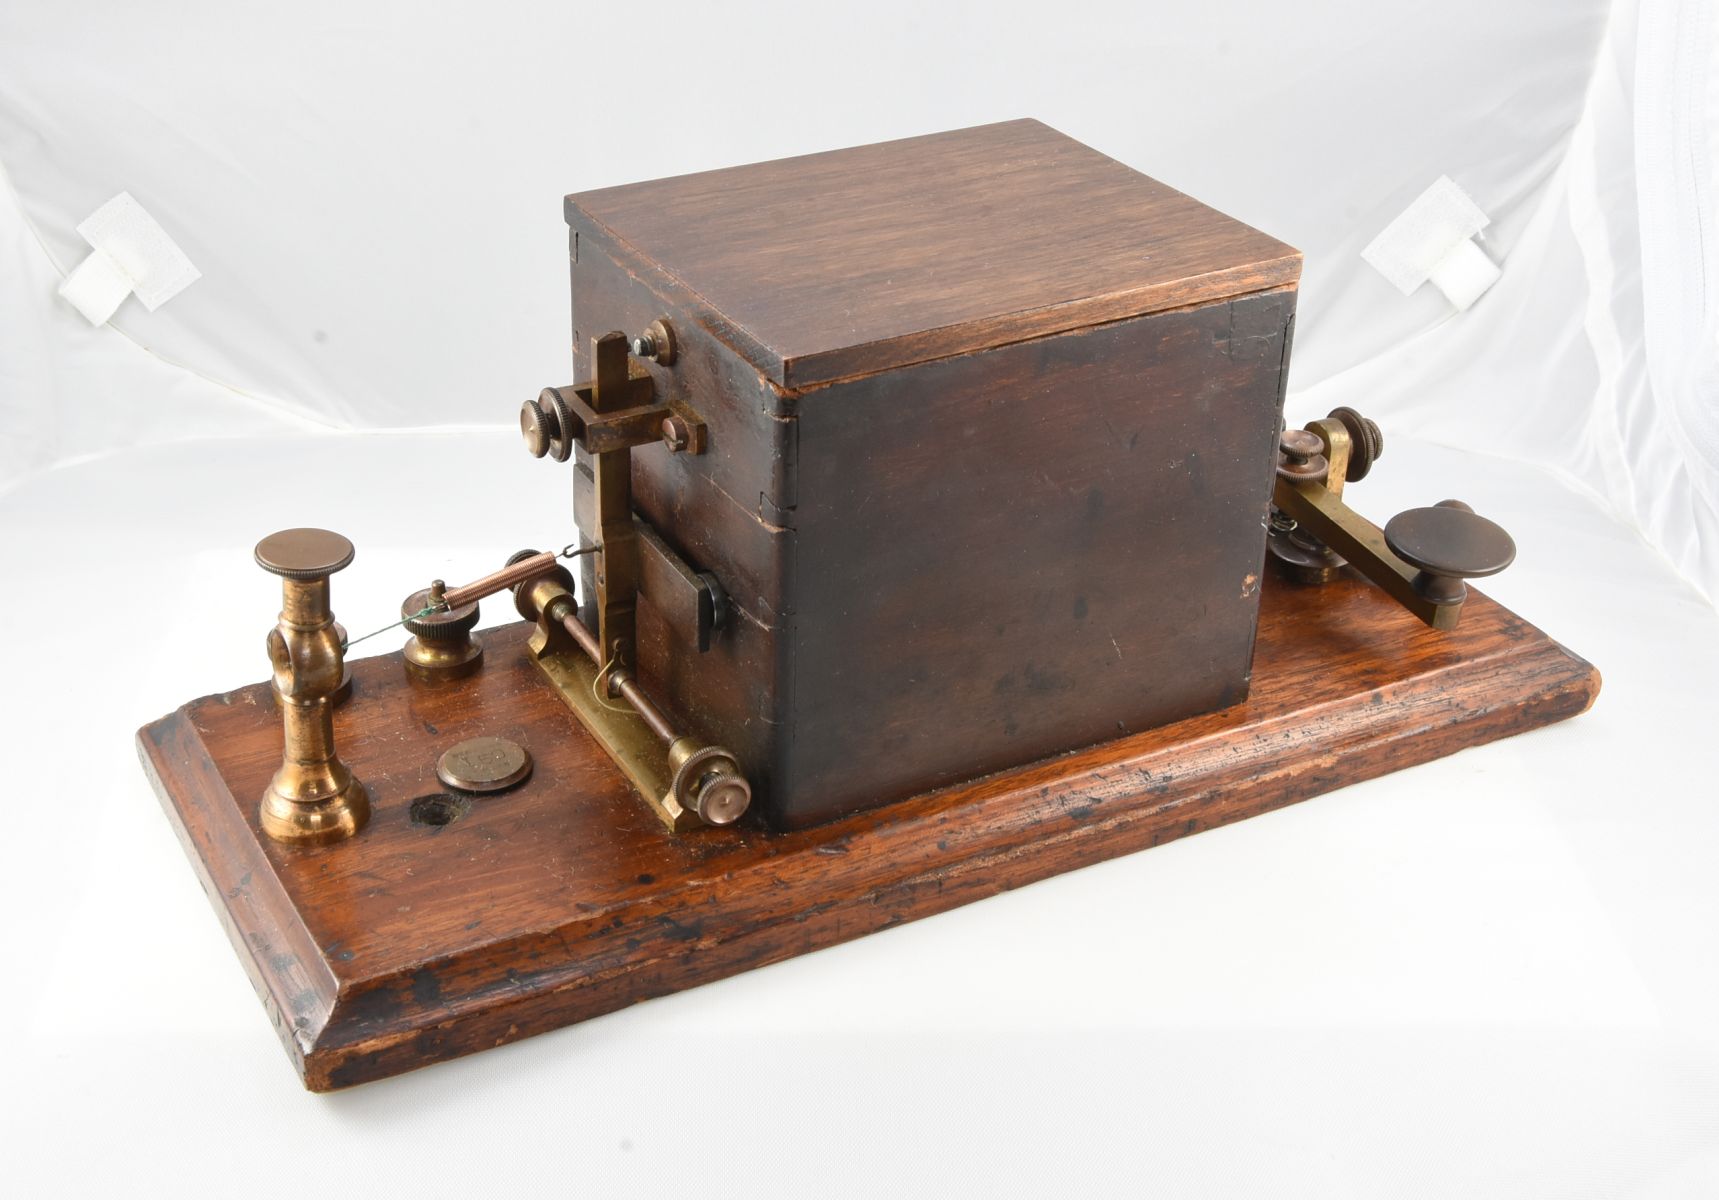
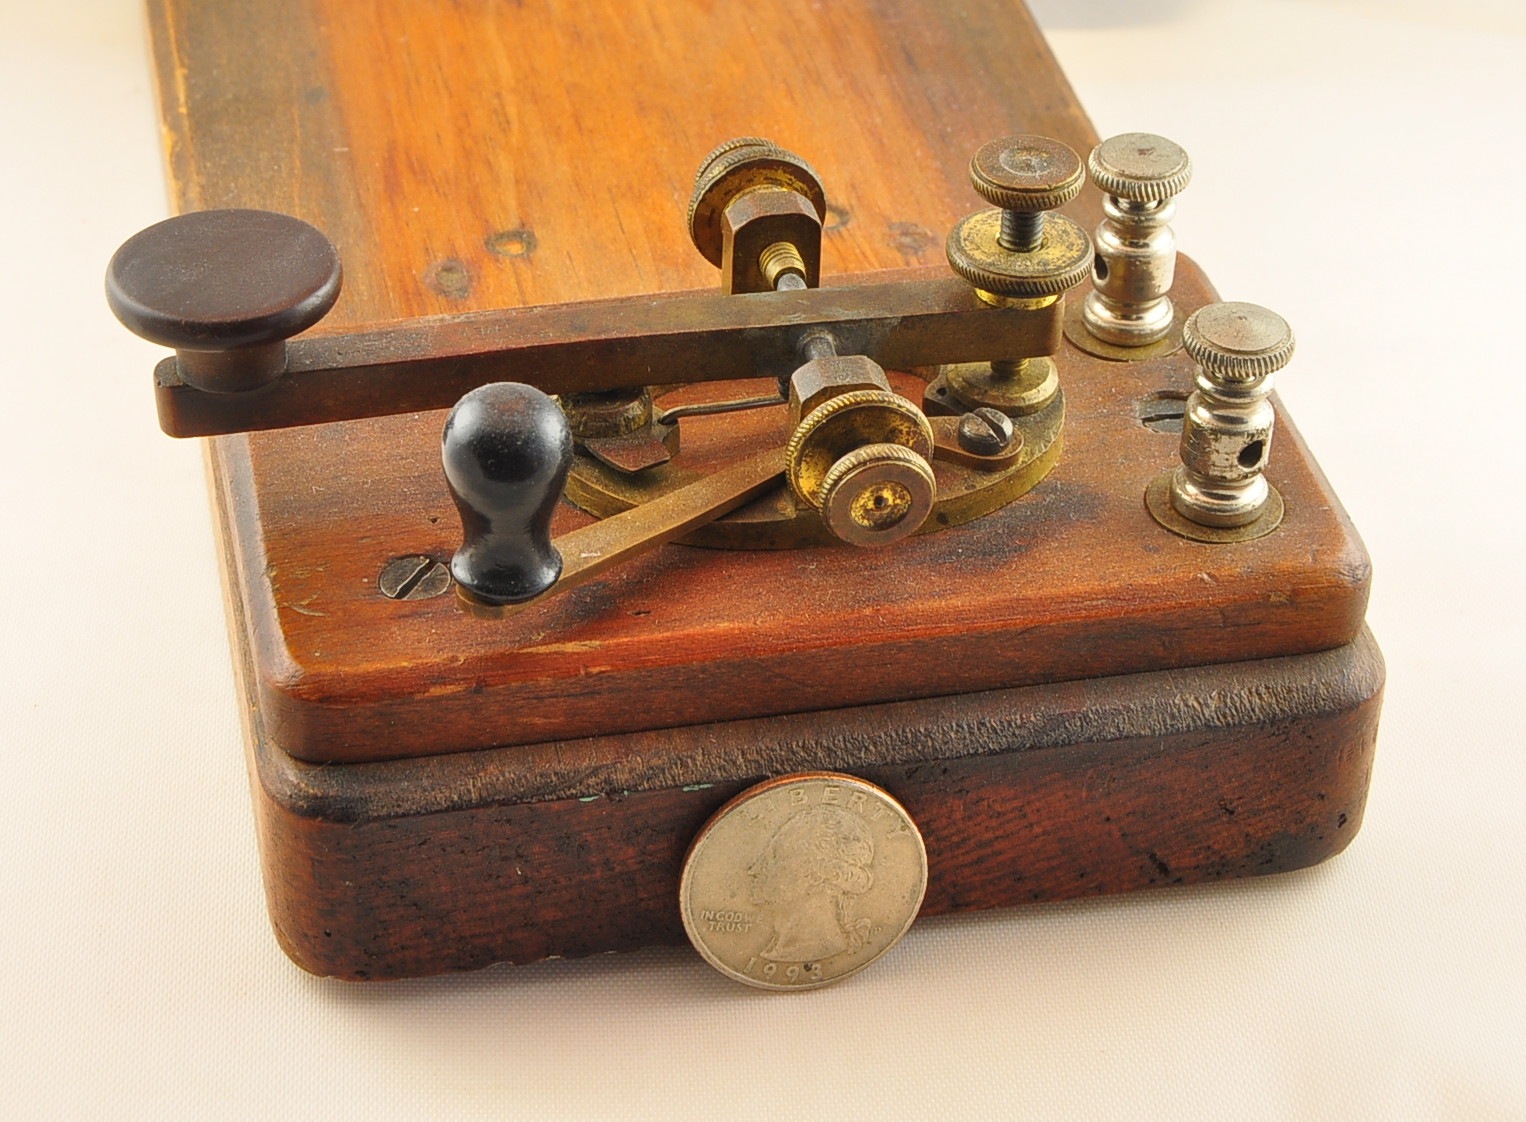
1870 Box Relay by Altoona Railroad Shops. Wooden box was heavily damaged with multiple breaks and the top of the box was missing. Most of the brass hardware had serious oxidation and required extensive scraping to remove dirt and debris. Box top was replaced with cherry wood, stained and shellacked. New relay tensioning spring was cut to size and copper plated. |
 |
 |
|
| Before | After | |
 |
 |
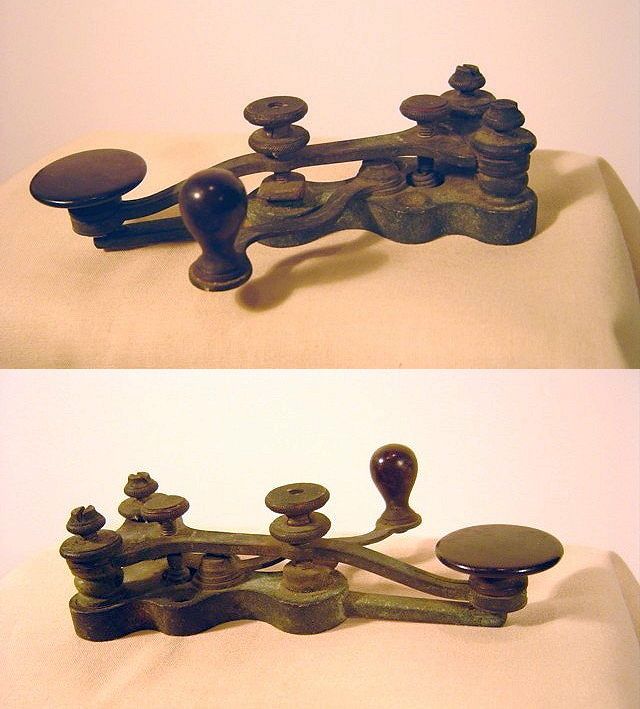
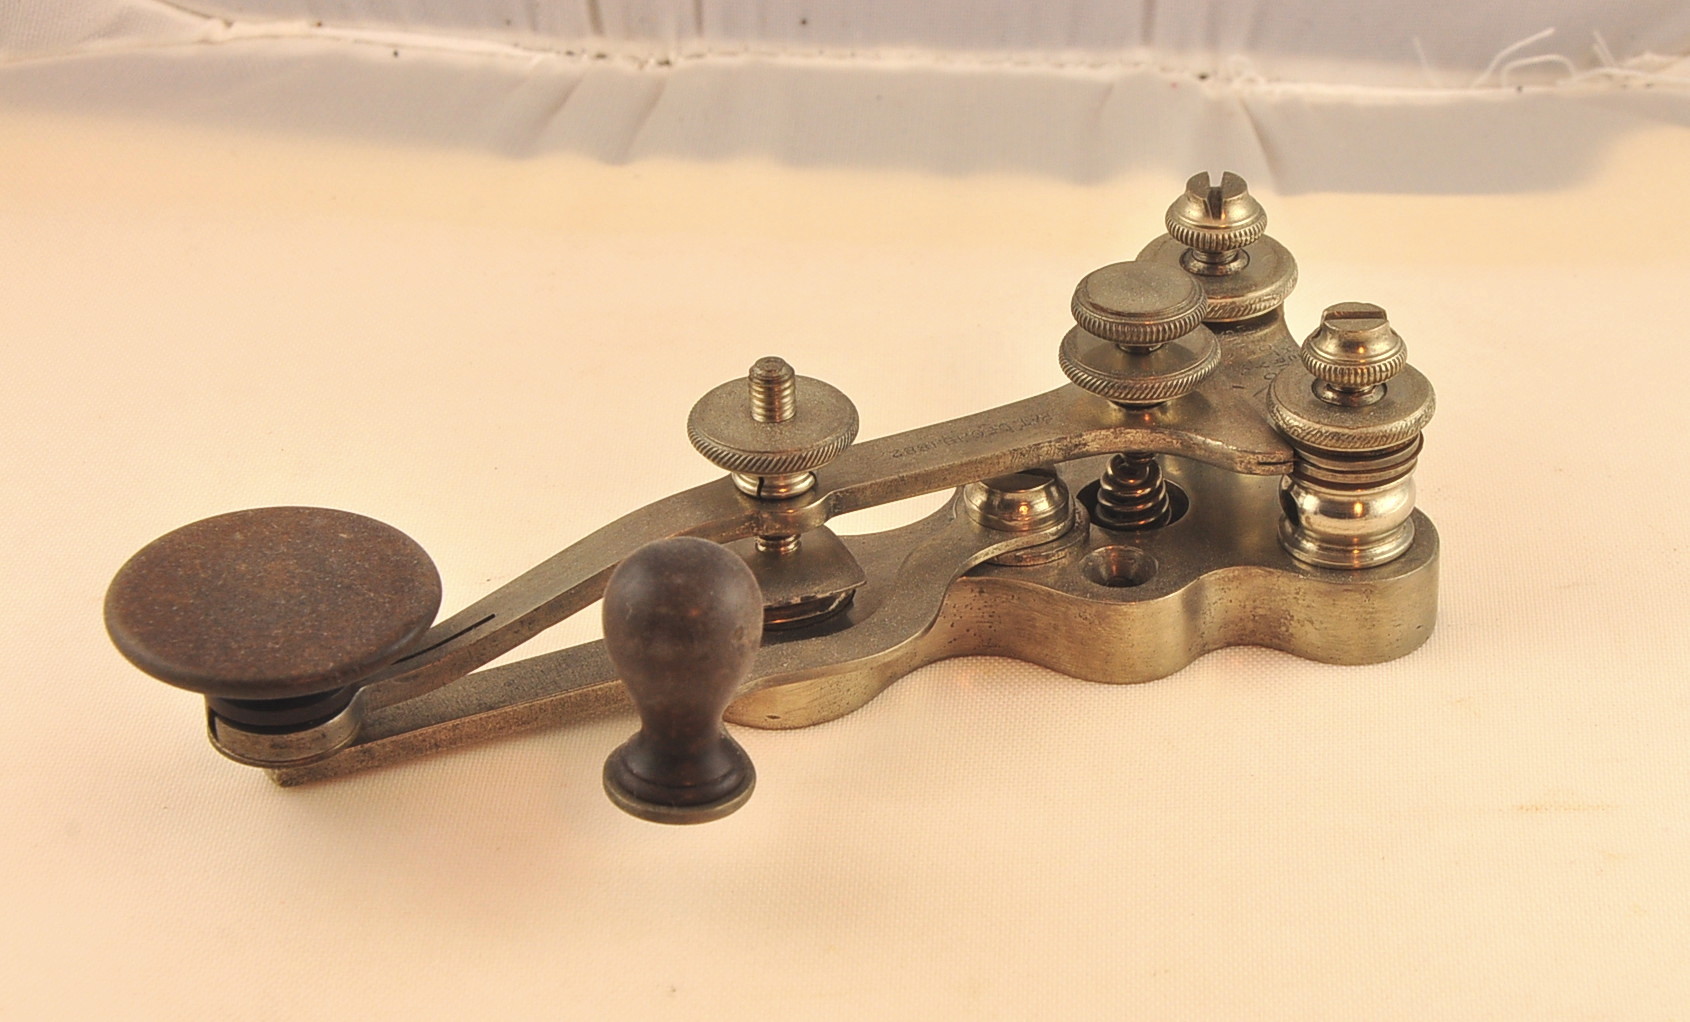
An early straight lever key by GC Wessmann & Sons showing typical brown & green oxides and other surface contaminants on the brass, along with rusted steel parts. On the right is the same key after cleaning with my X-Acto blade scraping method. No brass polish was used. This is my typical restoration method for brass to ensure the key keeps the "aged" look. |
| Before | After | |
 |
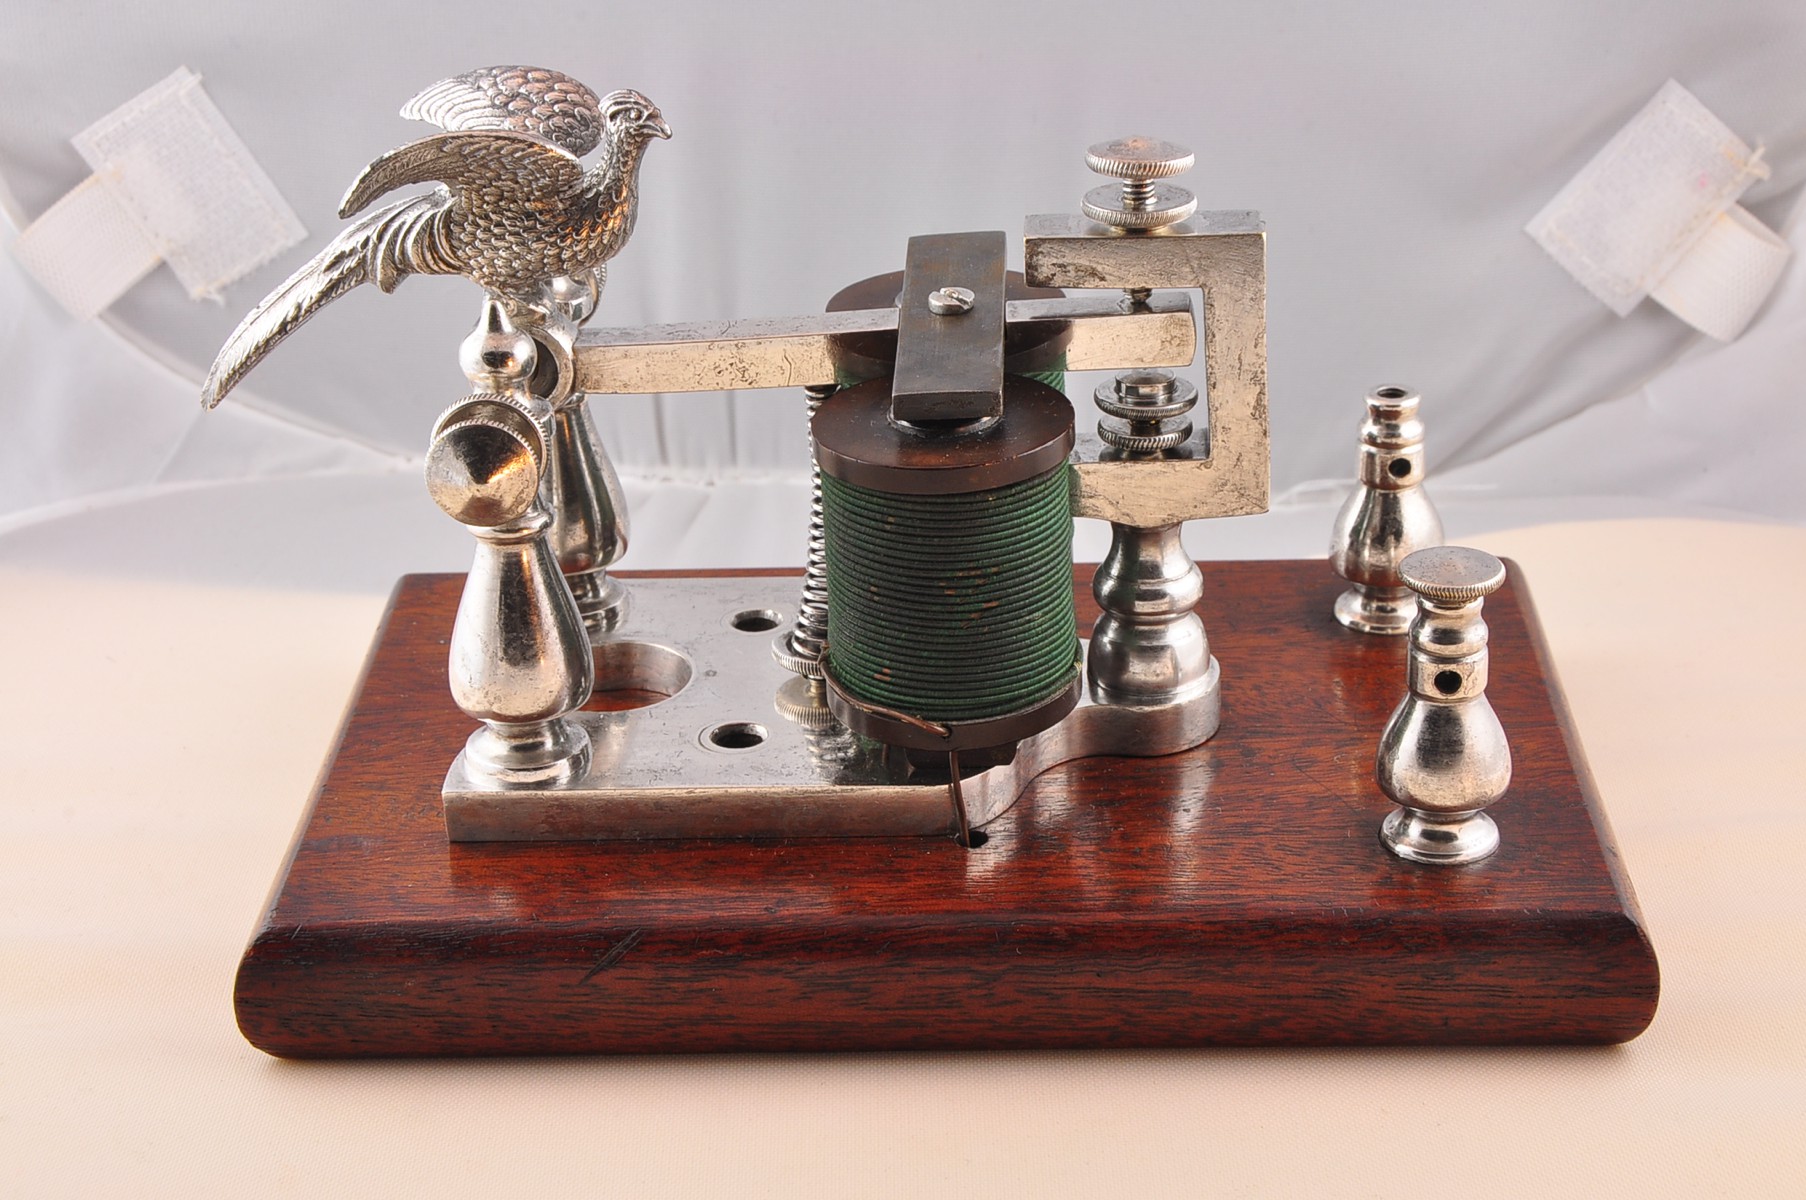 |
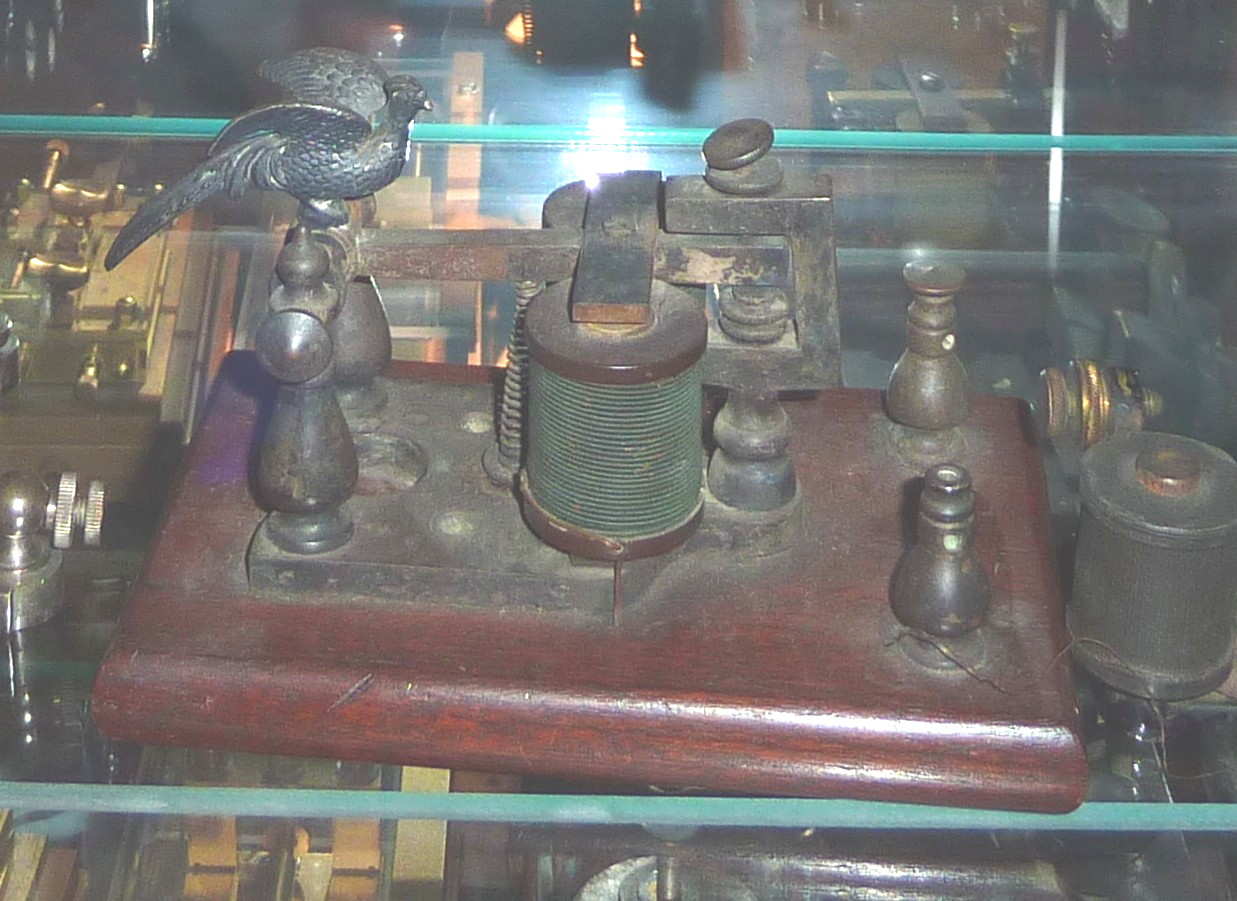
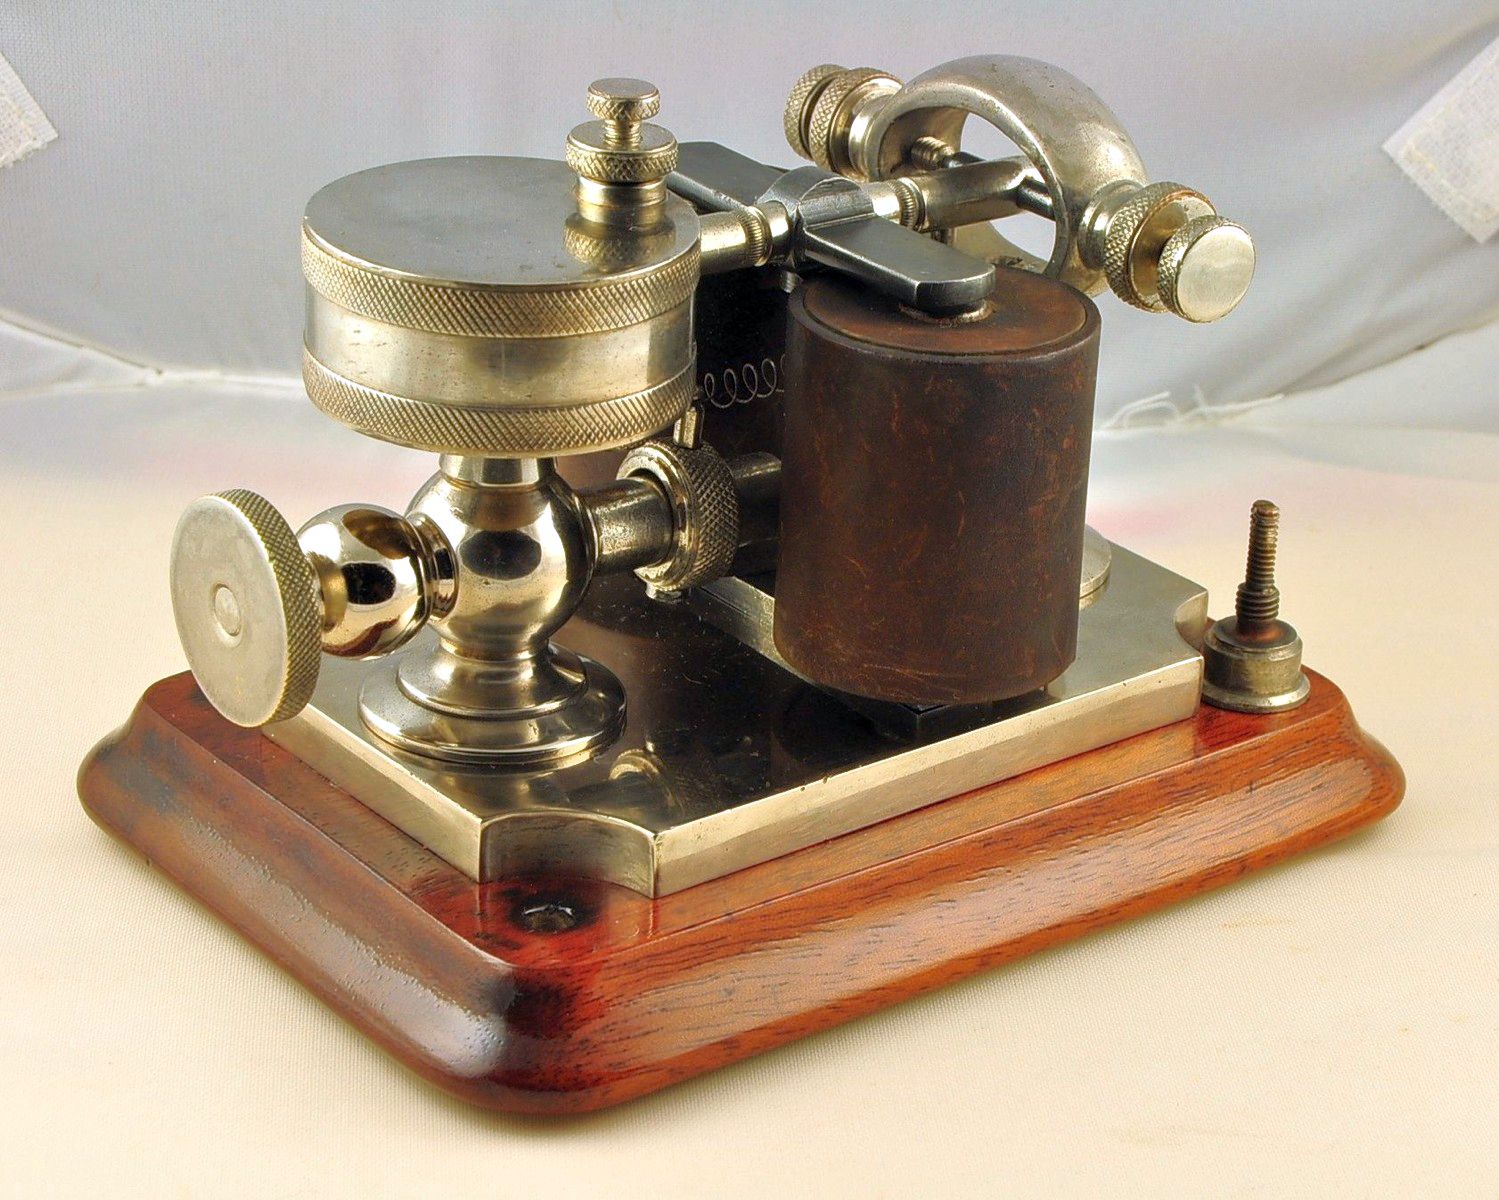
Silver plated "pheasant" sounder by Davis & Watts. Deep tarnish on silver plating, rusted armature, and bent screws. On right the same sounder after electrolysis, light silver polishing, de-rusting with Naval Jelly, and straightening of screw heads. |
| Before | After | |
 |
 |
Nickel plated Prosch Key left for decades in a damp environment, resulting in total destruction of nickel plating and corrosion of the underlying brass. On right is the same key after removal of corrosion with Naval Jelly, removal of pitting to the brass with fine emery cloth and re-plating with a nickel brush-plating kit. |
| Before | After | |
 |
 |
A James Gilliland Drum Sounder also exposed to a damp environment for a very long time. Nickel plating partially intact, but showing much corrosion to the underlying brass. Shellac finish on the wood base completely gone and the wood dried out. Corrosion removed with Naval Jelly, and excess nickel plating removed with a nickel stripper chemical. The brass was then re-plated with a nickel brush plating kit. Base was sanded and re-finished with shellac. |
| Before | After | |
 |
 |
An early Marconi Wireless Spark Key that had been left in a garage for many years. Wood base dried out and finish completely gone. Brass covered with a thick layer of oxidation and most of the adjustment screws were frozen in place. Base was sanded, stained and multiple coats of Shellac were applied. Screws were unfrozen and cleaned with the X-Acto blade method. Nameplate was polished then re-darkened slightly. |
| Before | After | |
 |
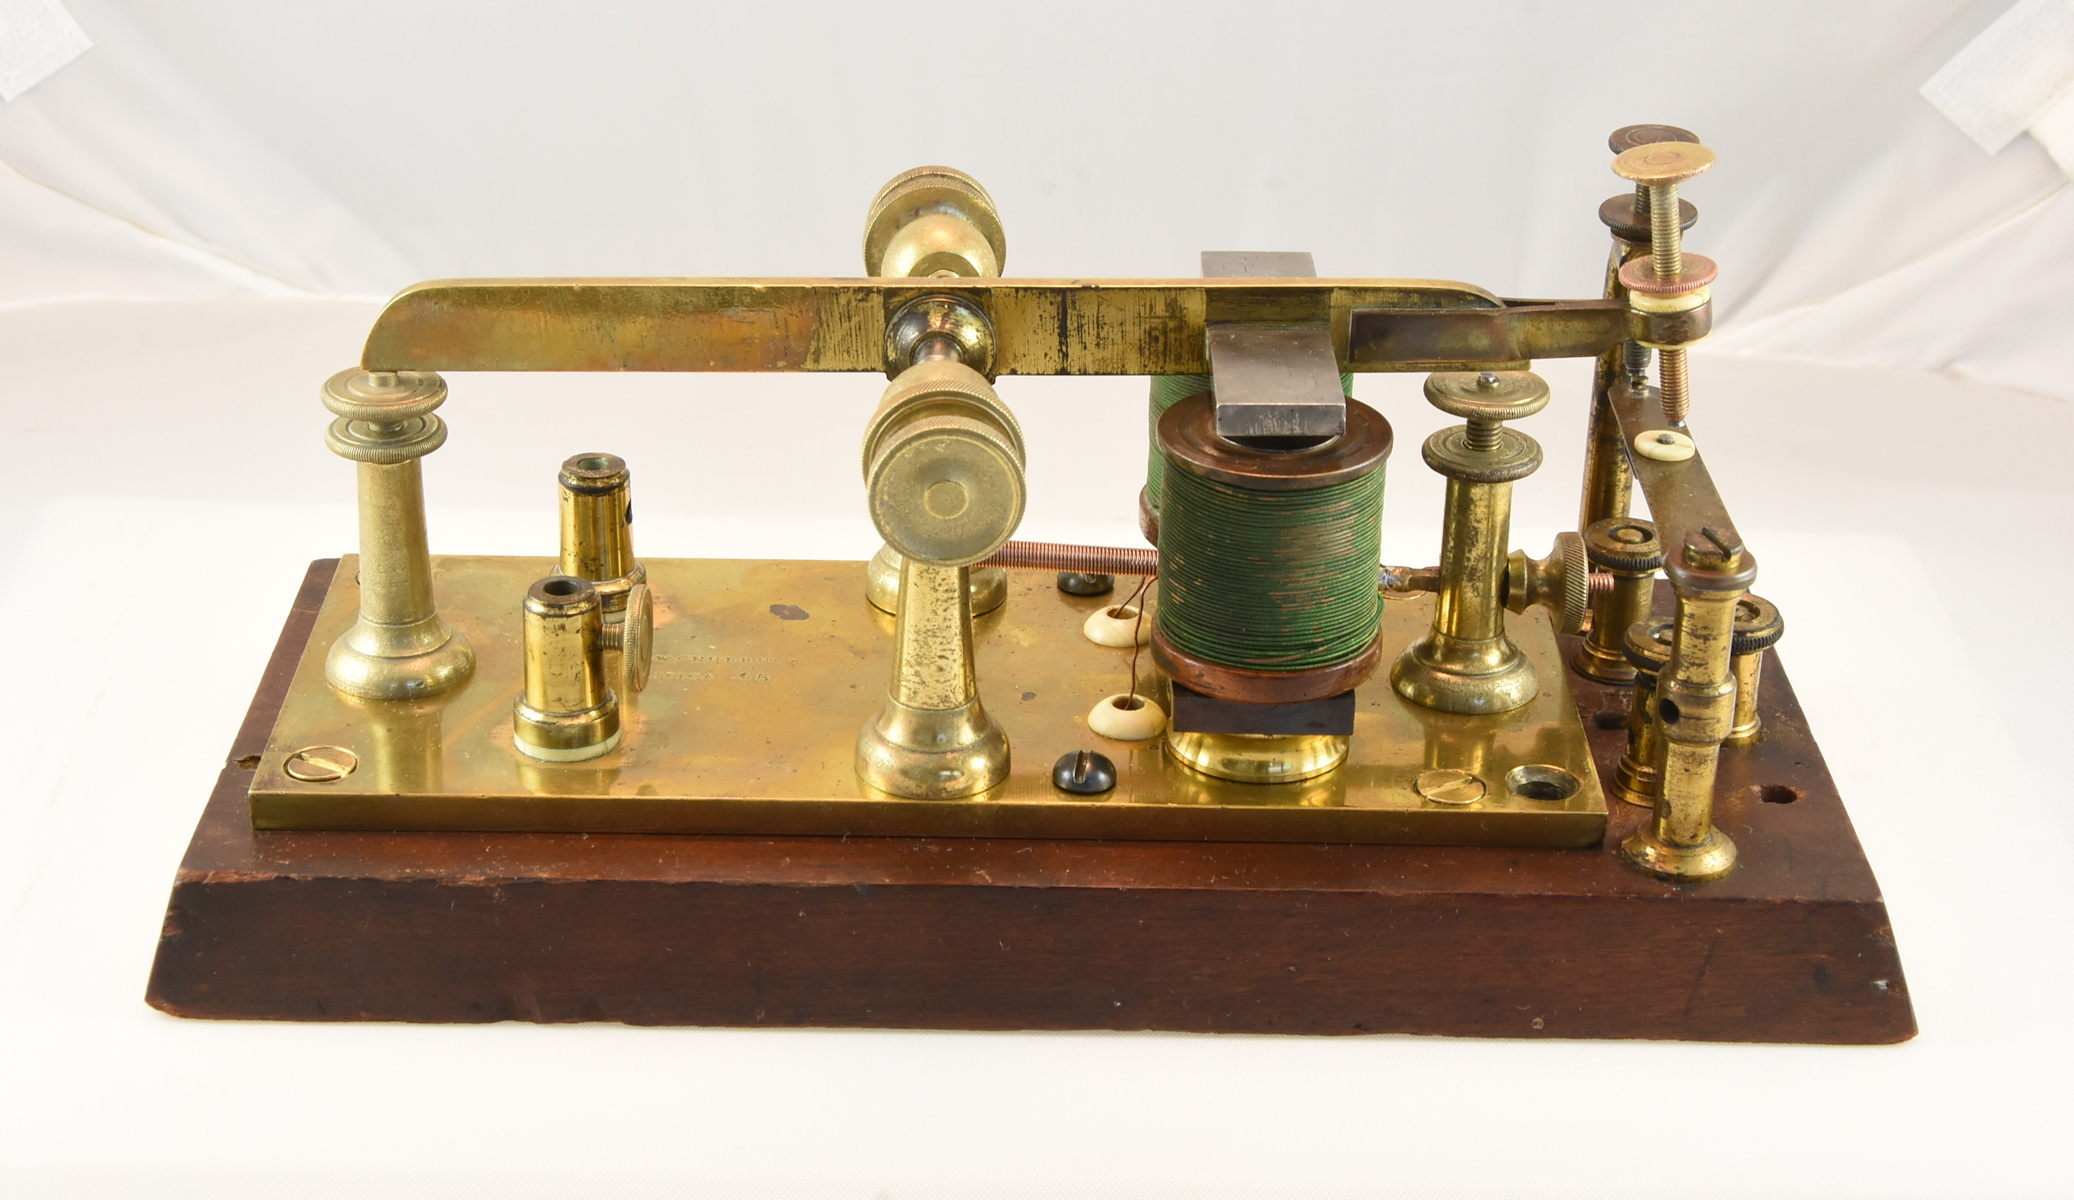 |
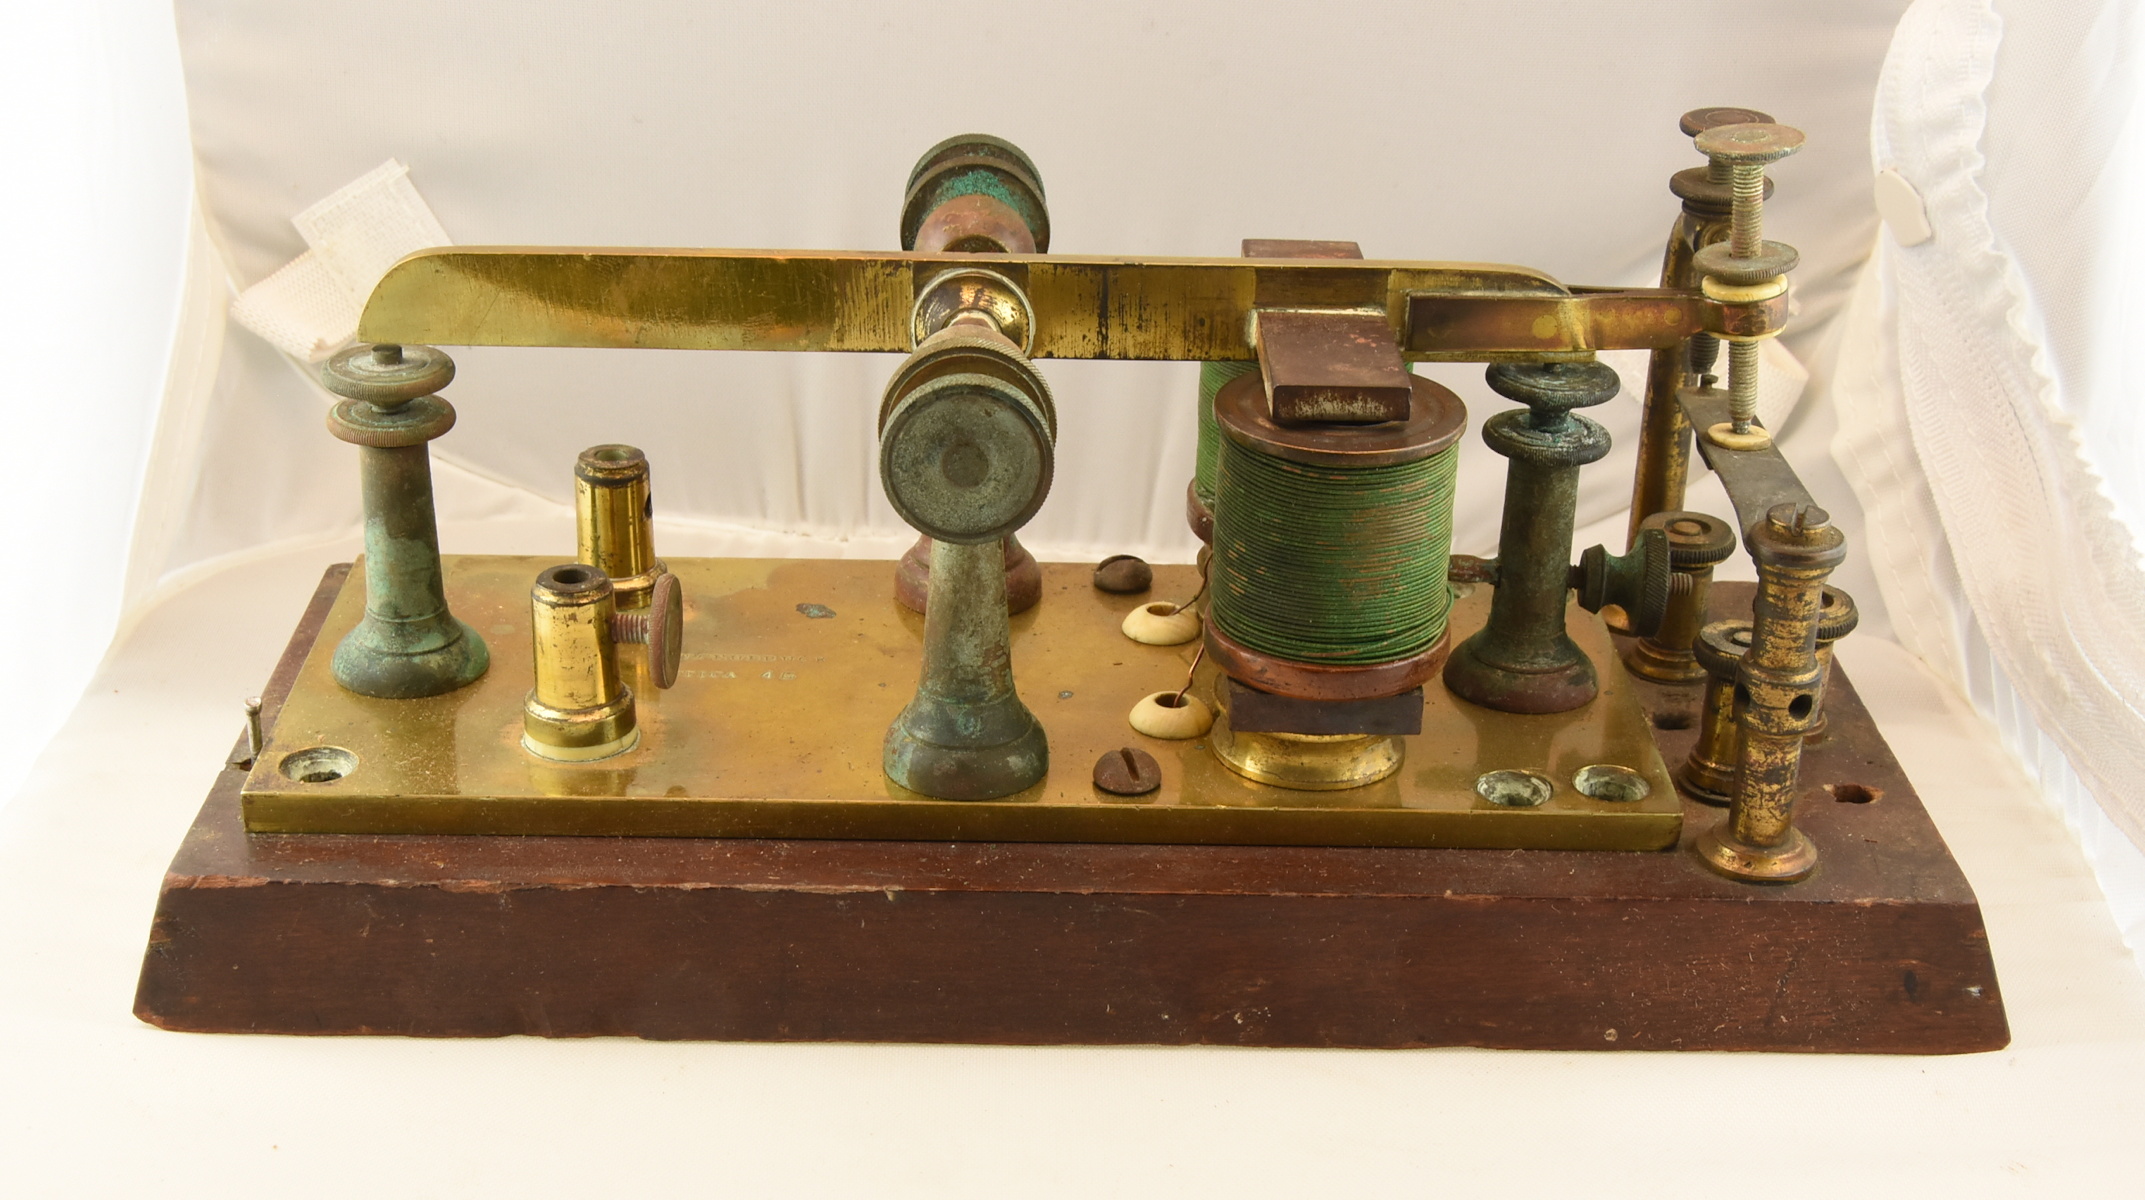
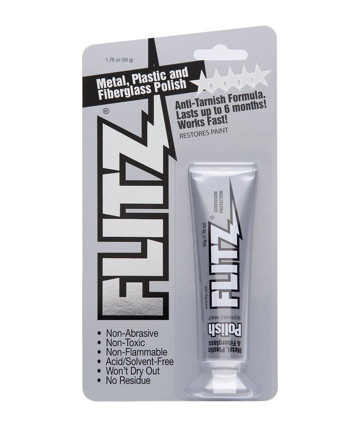
A very early SW Chubbuck Relay found in partially restored condition. Many of the unrestored parts were covered with corrosive green oxides that were removed with a combination of Naval Jelly, 600 grit emery cloth, and steel wool, followed by a partial polish with Flitz metal polish. This was a rare case where I actually polished brass because the finish was so badly damaged. |
| Before | After |
I have been collecting telegraph instruments for over 30 years. Half the fun of collecting is acquiring new items; the other half is restoring them. So what is the best way to restore your newly acquired piece of history?
If you ask a group of collectors their opinion on restoring telegraph keys, you will surely get a variety of responses. In fact there is much controversy within the collectors' field on this subject, often leading to heated arguments. Some like to leave things completely untouched, while others prefer to polish the instrument so it looks brand new. I'm one of those in the middle. I like things clean, free of dirt and rust, but still looking their age as much as possible.
Regarding the art of restoring any antique, the key word is PATIENCE. If your telegraph instrument has any degree of grunginess to it, expect to put in at least 2-3 weeks on the restoration. There are no shortcuts to doing a proper, thorough job. I have had some large instruments, like registers, that were in such terrible condition, the restoration took several months to complete !
My 2 most basic rules when restoring a telegraph instrument are as follows:
- NEVER EVER use anything abrasive when cleaning brass. No steel wool, no sandpaper, no Dremel Tool wire wheels, etc.
- See rule #1 !!!
Tools You Will Need
- A set of screwdrivers, flat blade and Philips head in as many sizes as you can find.
- Pliers: Slip-Joint (2 sets), Long Nose, and Needle Nose
- Crescent Wrench
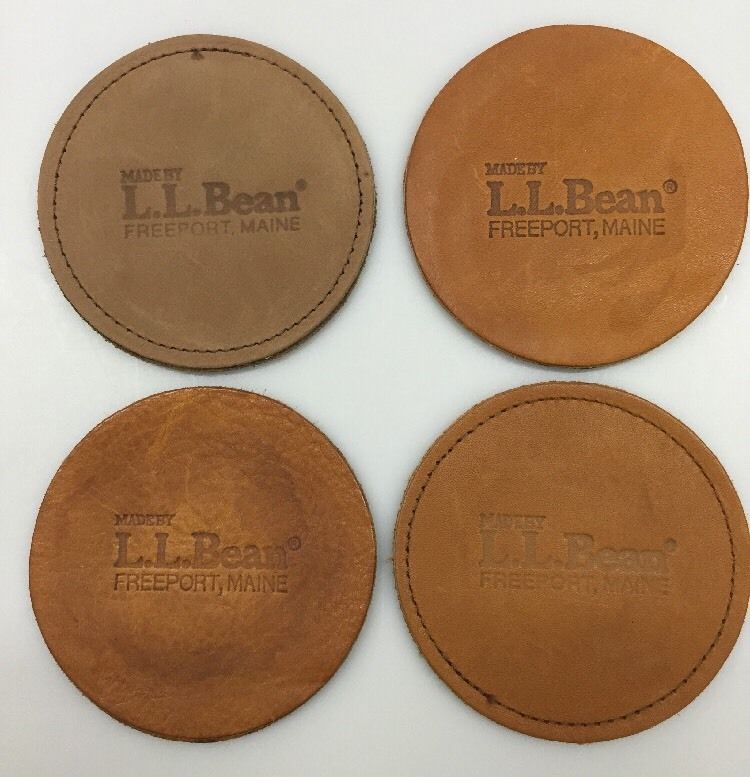
- Leather Drink Coasters (2) for protecting knurled screw heads
- Tweezers: Straight and Curved end
- Wire Cutters: Small and Large
- Dental Pick
- Tooth Brush and Dish Soap
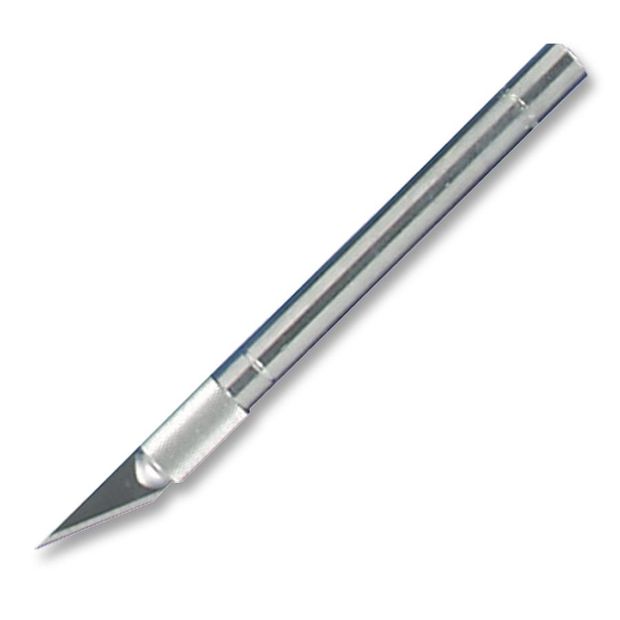
- X-Acto Knife with multiple blades of the type shown here
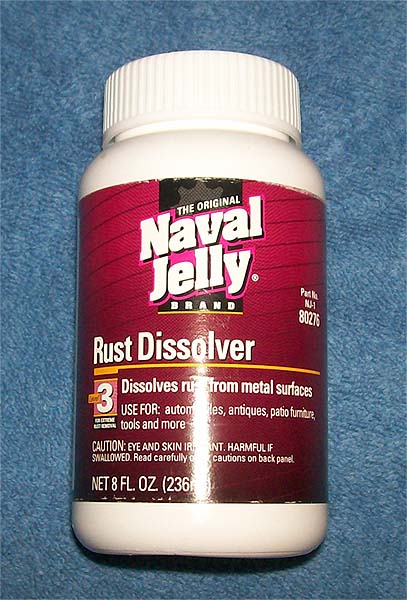
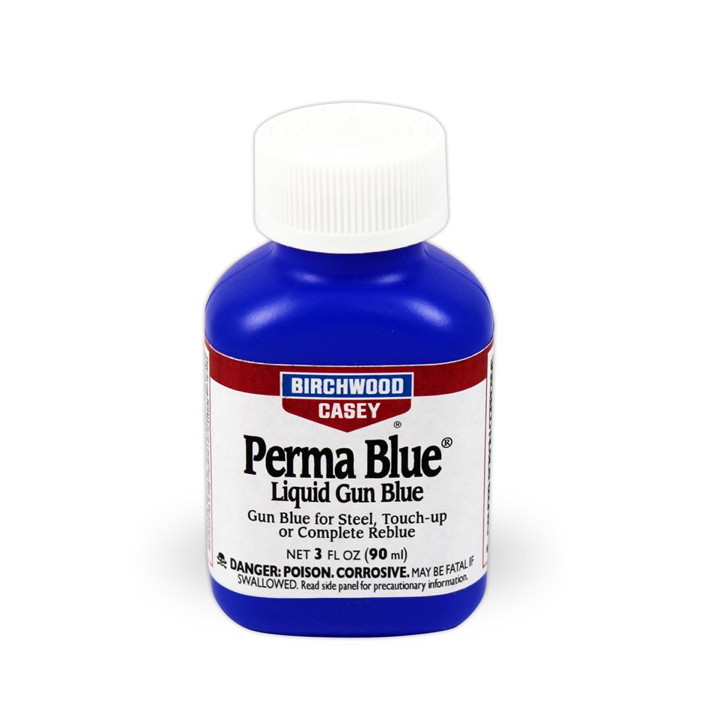
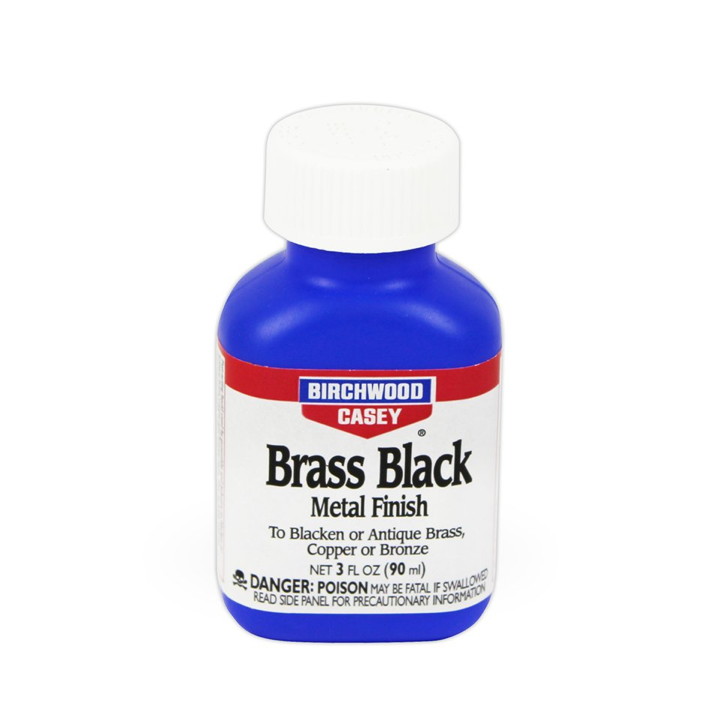
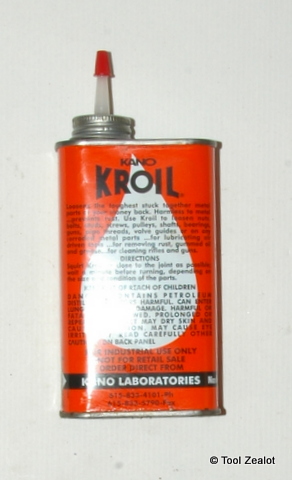
- Chemicals: Denatured Alcohol, Naval Jelly (Rust Dissolver), Perma-Blue Gun Bluing Chemical, Brass Black Darkening Chemical, Sewing Machine Oil, Kroil Penetrating Oil, Flitz Metal Polish (for polishing brass)
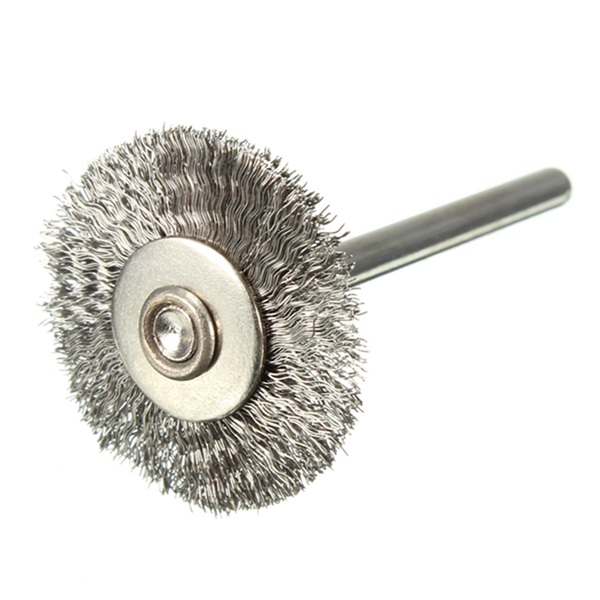
- Dremel Tool with 3/4" Wire Wheels
- Calipers: Analog or Digital
- If you have them, a vise and drill press are invaluable
- 0000 Size Steel Wool
- Emery Cloth: 320, 600, and 1200 Grit size
- Adjustable DC Power Supply, 0-12V, 0-1Amp (Available used on Ebay)
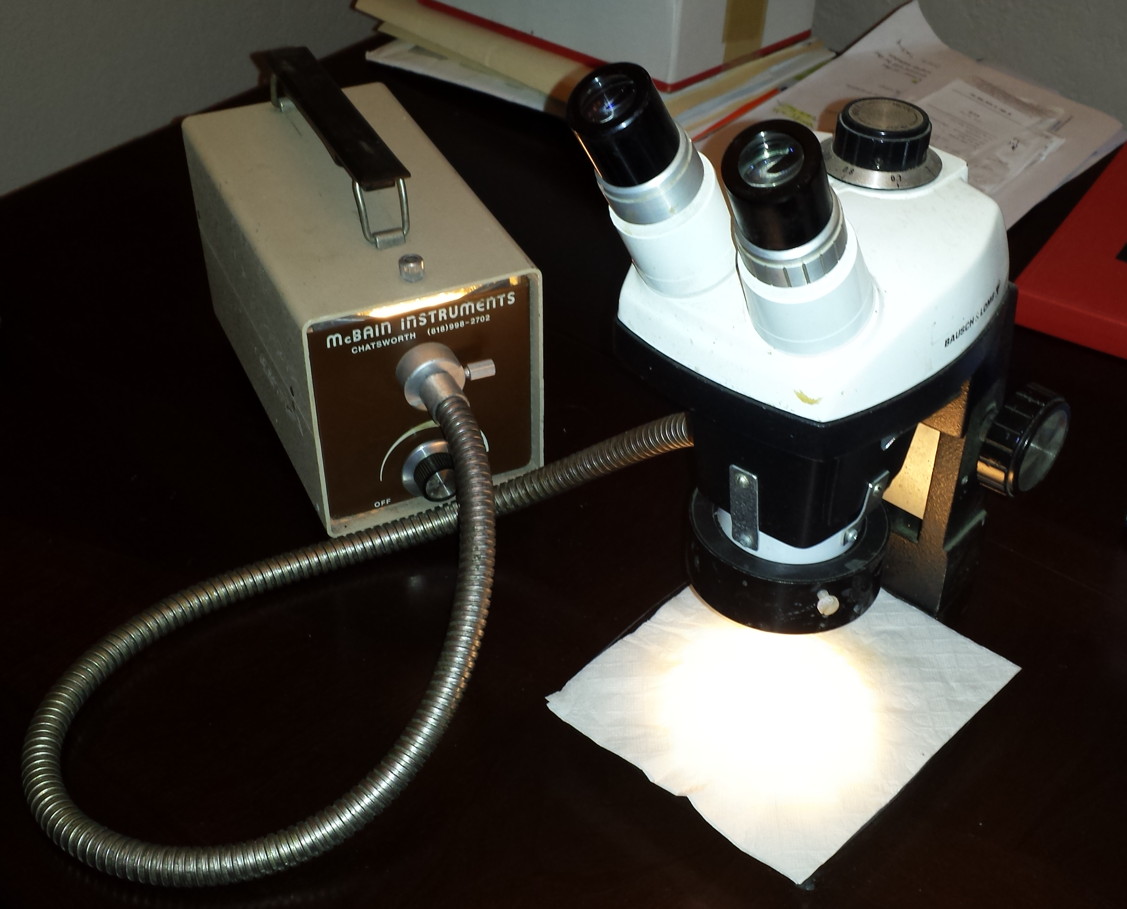
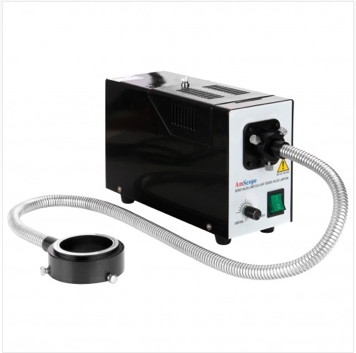
And perhaps the most important tool for anyone who is serious about restoring telegraph instruments: A stereo zoom microscope that measures from about 7x to 30x with a Fiber Optic Ring Light Source. You can find these on Ebay for a couple hundred bucks for the microscope and another one hundred or so for the light source. I use an old Bausch & Lomb Stereoview 4. This gives you the ability to really see what you are working on when you are performing detailed restorations. I generally set mine to about 8x while working on telegraph instruments.
Beginning the Restoration
The first thing you should do before taking apart the instrument is to take lots of detailed pictures of the instrument from all different angles so you know how to re-assemble it when you are finished.
When disassembling an instrument, I don't just take everything apart and put all the pieces in a pile. I like to group the parts into sub-assemblies. For instance, the keying lever on a bug has many parts attached to it. So leave all those parts attached to the lever until you are ready to tackle that lever assembly. This helps prevent parts from getting lost or mixed-up with other unrelated parts.
After disassembly, scrub the parts using a tooth brush and dish soap. This will remove some of the surface dirt and oils/greases. Dry the parts thoroughly.
Many people feel that this is all the cleaning that needs to be done to an instrument and they stop at this point and put the key back together and call it quits. However, after completing this simple process you will notice that there is most likely still quite a bit of dirt/rust/crud still stuck to your instrument. So, if you want to continue and learn how to do a more thorough restoraton, read on !
The tabs on the left of this page discuss methods for all types of restorations, including proper cleaning of raw brass instruments & nickel plated keys (like bugs), de-rusting steel parts, repairing bent screws, and freeing up frozen screws.
Also included are more advanced techniques such as electroplating, shellacking a wood base, applying instrument lacquer to brass, etc. For these techniques, more tools and chemicals will be required other than those listed above. All that will be covered in the pertinent sections.
Read on, and don't be afraid to get your hands dirty !!
**NOTE** If you have a favorite tried-and-true restoration technique, please let me know, I'd like to see it. I might just add it to the restoration pages !