Applying Instrument Lacquer to Brass
Working with Instrument Lacquer is not a simple undertaking. Professional instrument restorers spend years learning the proper techniques. However, for the purpose of restoring small telegraph instruments, the average collector can learn enough to do a fairly decent job. I'm no expert at applying instrument lacquer, but I have done it successfully. As I have continued to mention in these pages on restoration, I prefer to clean an instrument by carefully working around the lacquered areas so a complete re-lacquering is not required.
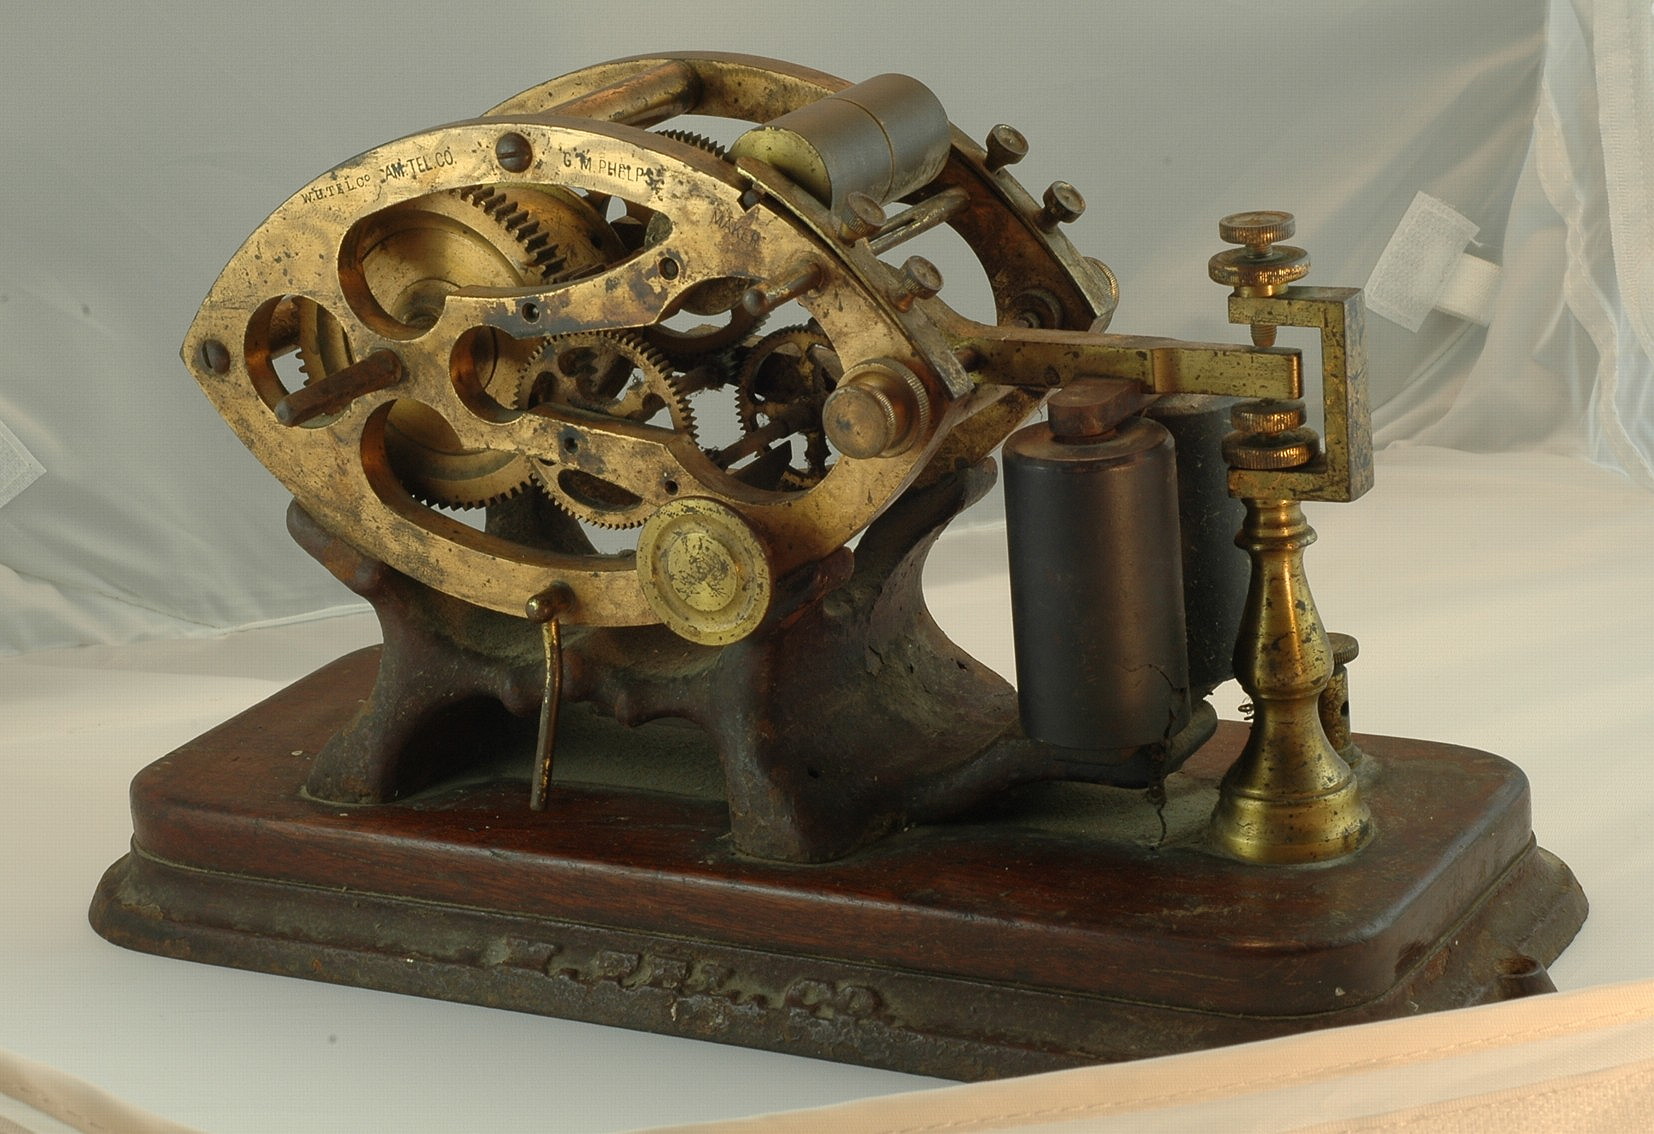
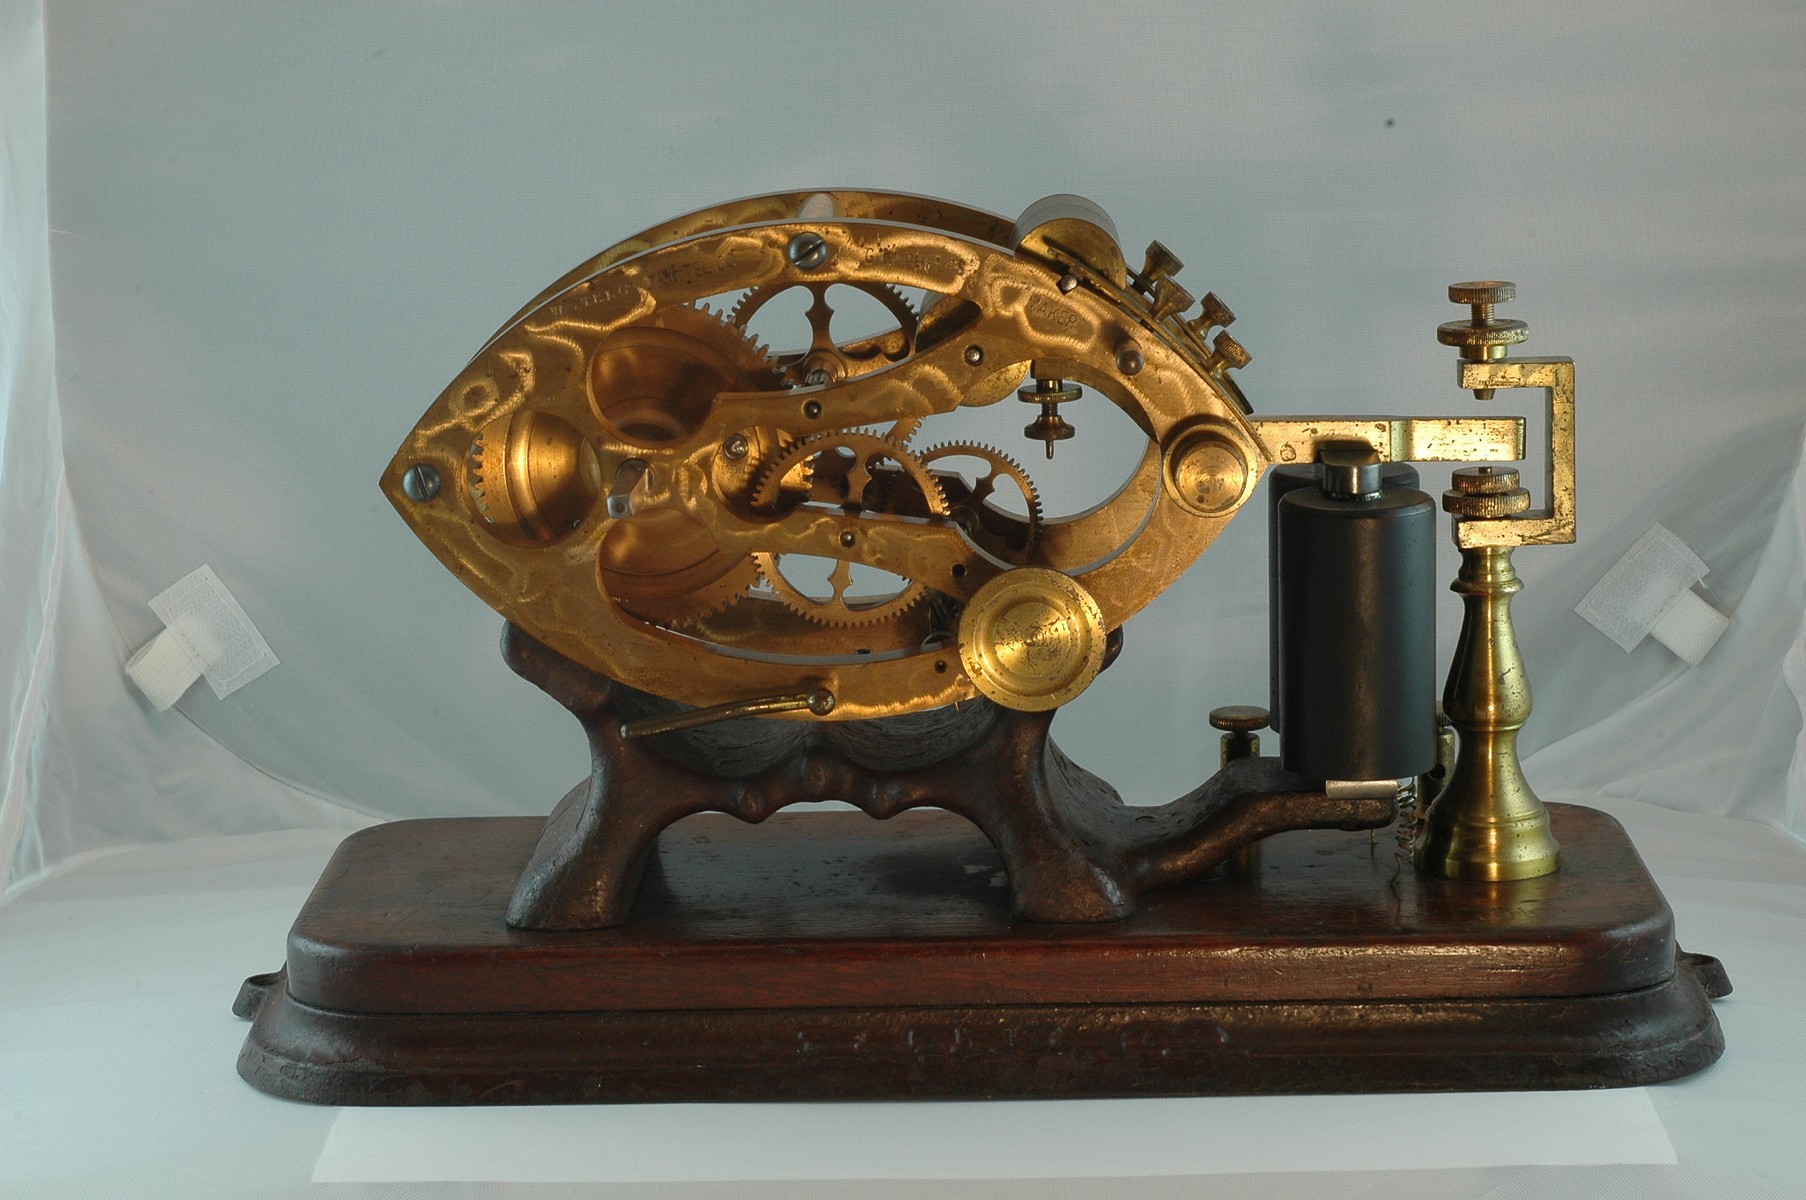
There was an occasion several years back when I mistakenly decided to use a commercial de-greaser on a lacquered telegraph register frame, and to my horror, I watched as the chemical not only removed the grease, but also the lacquer !! Thus, I was forced to learn some lacquering techniques to correct the damage I had done. After some research, I was not only able to correct the damage, but the results were actually much better than I expected !
Here are before and after pictures of that register, a very early GM Phelps football-shaped register. The front frame piece (with the Phelps name on it) is the only part that I re-lacquered since I had accidentally dissolved the existing lacquer with a degreasing chemical. The other parts were cleaned using my scraping tool.
 |
 |
|---|
Applying Instrument Lacquer to brass is a bit like applying Shellac to wood in that both chemicals dry very quickly, so if not done properly it is easy to wind up with a streaky finish. For that reason, many of the techniques used to apply Shellac are also used when applying Instrument Lacquer, specifically diluting the lacquer and using a pad to apply it rather than a brush.
The basic process for applying Instrument Lacquer to brass involves starting with a high quality clear Nitrocellulose Lacquer, diluting it with Lacquer Thinner, adding a Lacquer Retardant to slow the drying, then adding the desired dye color. Then the lacquer will be ready to apply.
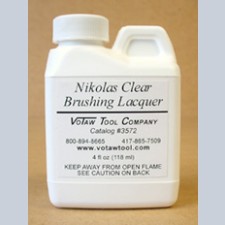
A good source for Instrument Lacquer is Nikolas Lacquers. They make lacquers used to refinish musical instruments among other things, as well as the dyes you will need to color the lacquer. Although you can purchase the clear lacquer on their website, I found another one of their products, Nikolas Brushing Lacquer, which is available from Votaw Tools, in a small bottle that is perfect for the amateur experimenter. Strangely I was not able to find this particular lacquer on the Nikolas website. Although it's called a Brushing Lacquer, I still recommend applying it with a cotton pad rather than a brush to completely eliminate the possibility of streaking. More on this below.
For your lacquering project, you will need the following:
- A small bottle of Nikolas Brushing Lacquer available from Votaw Tools (see the link immediately above)
- A can of Lacquer Thinner, available from any hardware store.
- A bottle of Nikolas Brass Color Dye #4177, available from the Nikolas Website.
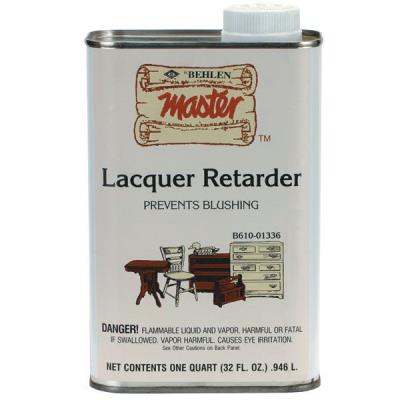
- A can of Behlen Lacquer Retarder
- Denatured Alcohol
- A small glass jar to store your lacquer mixture. Don't use a plastic jar as the lacquer thinner could dissolve it.
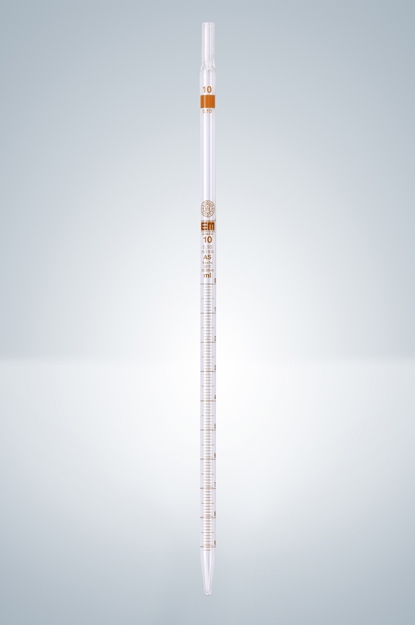
- An accurate Graduated Pipette (graduated in fractions of a milliliter), to measure small amounts of the chemicals used for mixing with the lacquer.
- A white cotton undershirt (to make cotton pads for applying the lacquer)
- Disposable latex surgical gloves.
Before starting the re-lacquering process, you must remove any existing lacquer from the part using Lacquer Thinner (or that evil de-greaser that got me into this mess in the first place). Also, if there are any areas with oxidation due to the original lacquer being missing, these areas need to be treated with Naval Jelly to remove the patina and oxides, then polish with Flitz metal polish and degrease with Denatured Alcohol. Your part should be clean and shiny and devoid of any oxidation or greases before you can start the re-lacquering.
Being an engineer, I like to follow formulas and recipes. I recommend you do the same here to ensure you get the correct mix of chemicals for your lacquer solution.
For the typical telegraph instrument restoration, you will not need a huge amount of lacquer. I recommend starting with 1 ounce of the clear brushing lacquer then add the other chemicals as needed.
Since you will be measuring liquids in milliliters, you need to know the conversion ratio between ounces and milliliters, which is 1 ounce = 29.57ml. So start with about 29.6ml of the brushing lacquer in your small glass jar. Next you need to thin the lacquer to 70% strength. To accomplish this, you want to wind up with a total of 1.43oz = 42.29ml of solution. So you need to add about 12.7ml of Lacquer Thinner to the jar.
Next you want to add about 5% Lacquer Retarder. 5% of 42.29ml is 2.12ml. So add 2.1ml of Lacquer Retarder to the jar and mix thoroughly. Another helpful conversion to know is that when using a Graduated Pipette, 1ml = 24 drops. So for 2.1ml of Lacquer Retarder, you need to add about 50 drops of retarder from the Pipette.
Now we are ready to add the Brass colored dye. According to the instructions, you will need to add anywhere from 1 ounce to 8 ounces of dye per gallon of lacquer (depending on desired color darkness). For a 1oz/gallon concentration in your 1.4oz jar of lacquer solution, you need to add 0.33ml of dye, which is about 8 drops of dye, For a 4oz/gallon concentration, you need to add 1.32ml of dye, which is about 32 drops of dye.
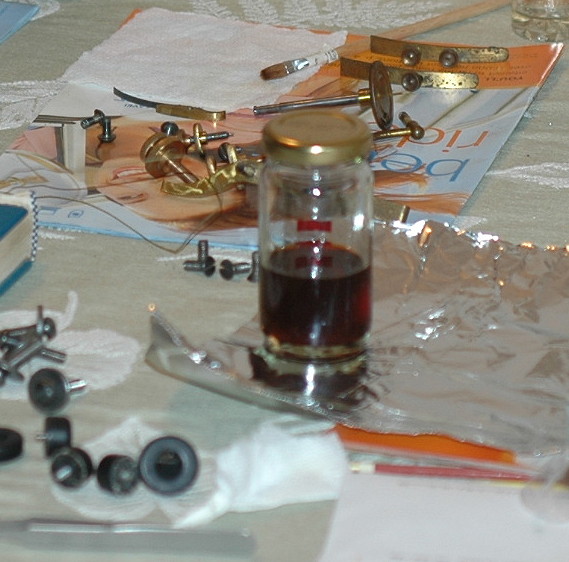
So start with 8 drops of dye, mix thoroughly, and check the color. Honestly it has been so long since I did my re-lacquering project, I forgot the exact concentration I used. You can test it on a piece of raw brass and see how it looks, but luckily I have a picture of the jar of lacquer and dye that I mixed so you can refer to this picture and use this as a guide to know when you have the proper concentration. You may be surprised how dark this lacquer solution looks, but when you apply it to the instrument, it's a very thin layer so it does not look nearly this dark.
After everything is mixed, it's time to start applying the lacquer. Like with the procedure for applying Shellac, take the cotton undershirt and cut it into 3 inch squares, then fold each square in half and in half again. This will be your lacquer application pad.
If possible you need to put a screw (maybe about 1.5" long) into a hole in the brass piece to use as a handle while you're applying the lacquer so you don't have to touch the part with your hands and mess up the finish. If the hole is not threaded, use a screw that is a little larger than the diameter of the hole and screw it in part way so the screw threads bind against the walls of the hole, allowing it to stick in the hole. You can now hold onto this screw while applying the lacquer. If no such hole exists in your part, you will have to apply the lacquer to just a portion of the part, allow to dry, then do the rest of the part later.
Put on your gloves and apply some of the lacquer to your cotton pad, soaking the pad thoroughly but not so much that it's dripping from the pad. Apply the lacquer to one side of the part, using a single stroke in each direction, completely coating the part. Repeat on the other sides but leave the "bottom" side untreated so you can set the part down on a stand to allow to dry. After about an hour or so you should be able to treat the remaining side.
After you have applied one coat to the entire part, and the part is completely dry, you can repeat the procedure for 1 or 2 more coats. Let stand overnight and lightly touch the part to see if it still feels tacky. If so, let dry until the tackiness goes away. The lacquering process is complete !
![]()
![]()